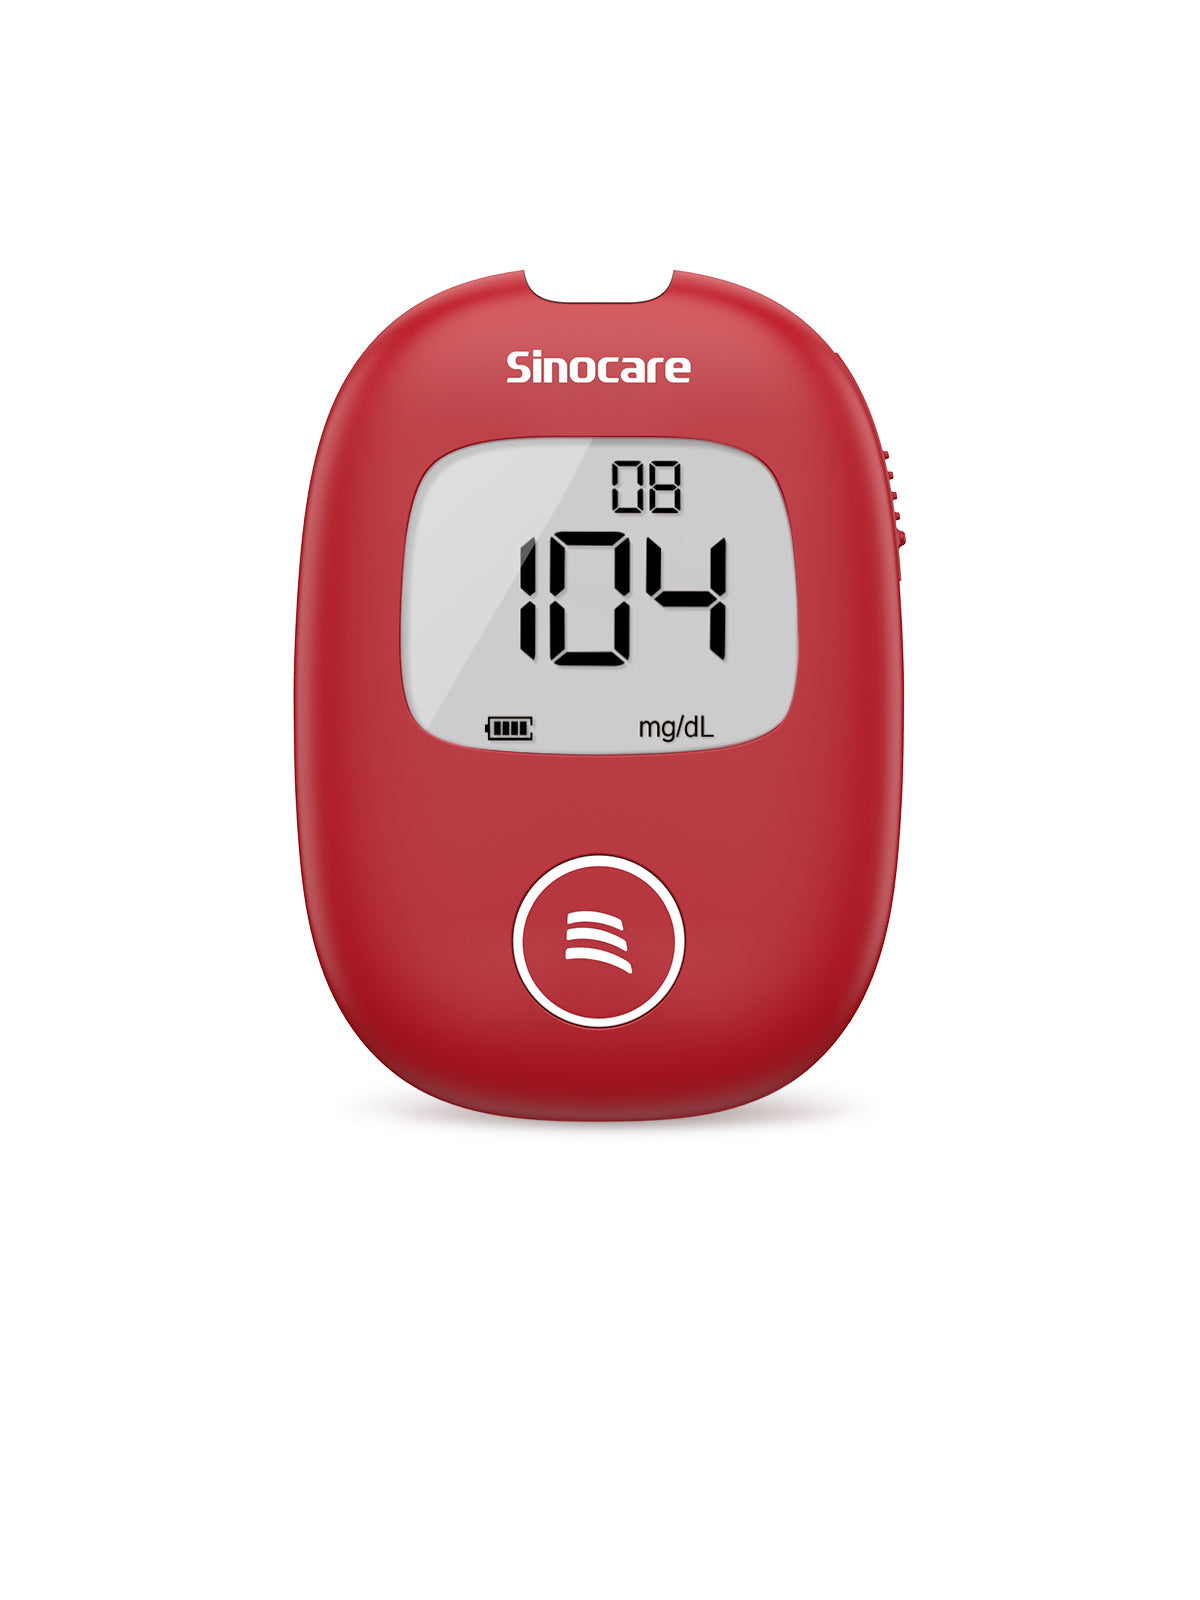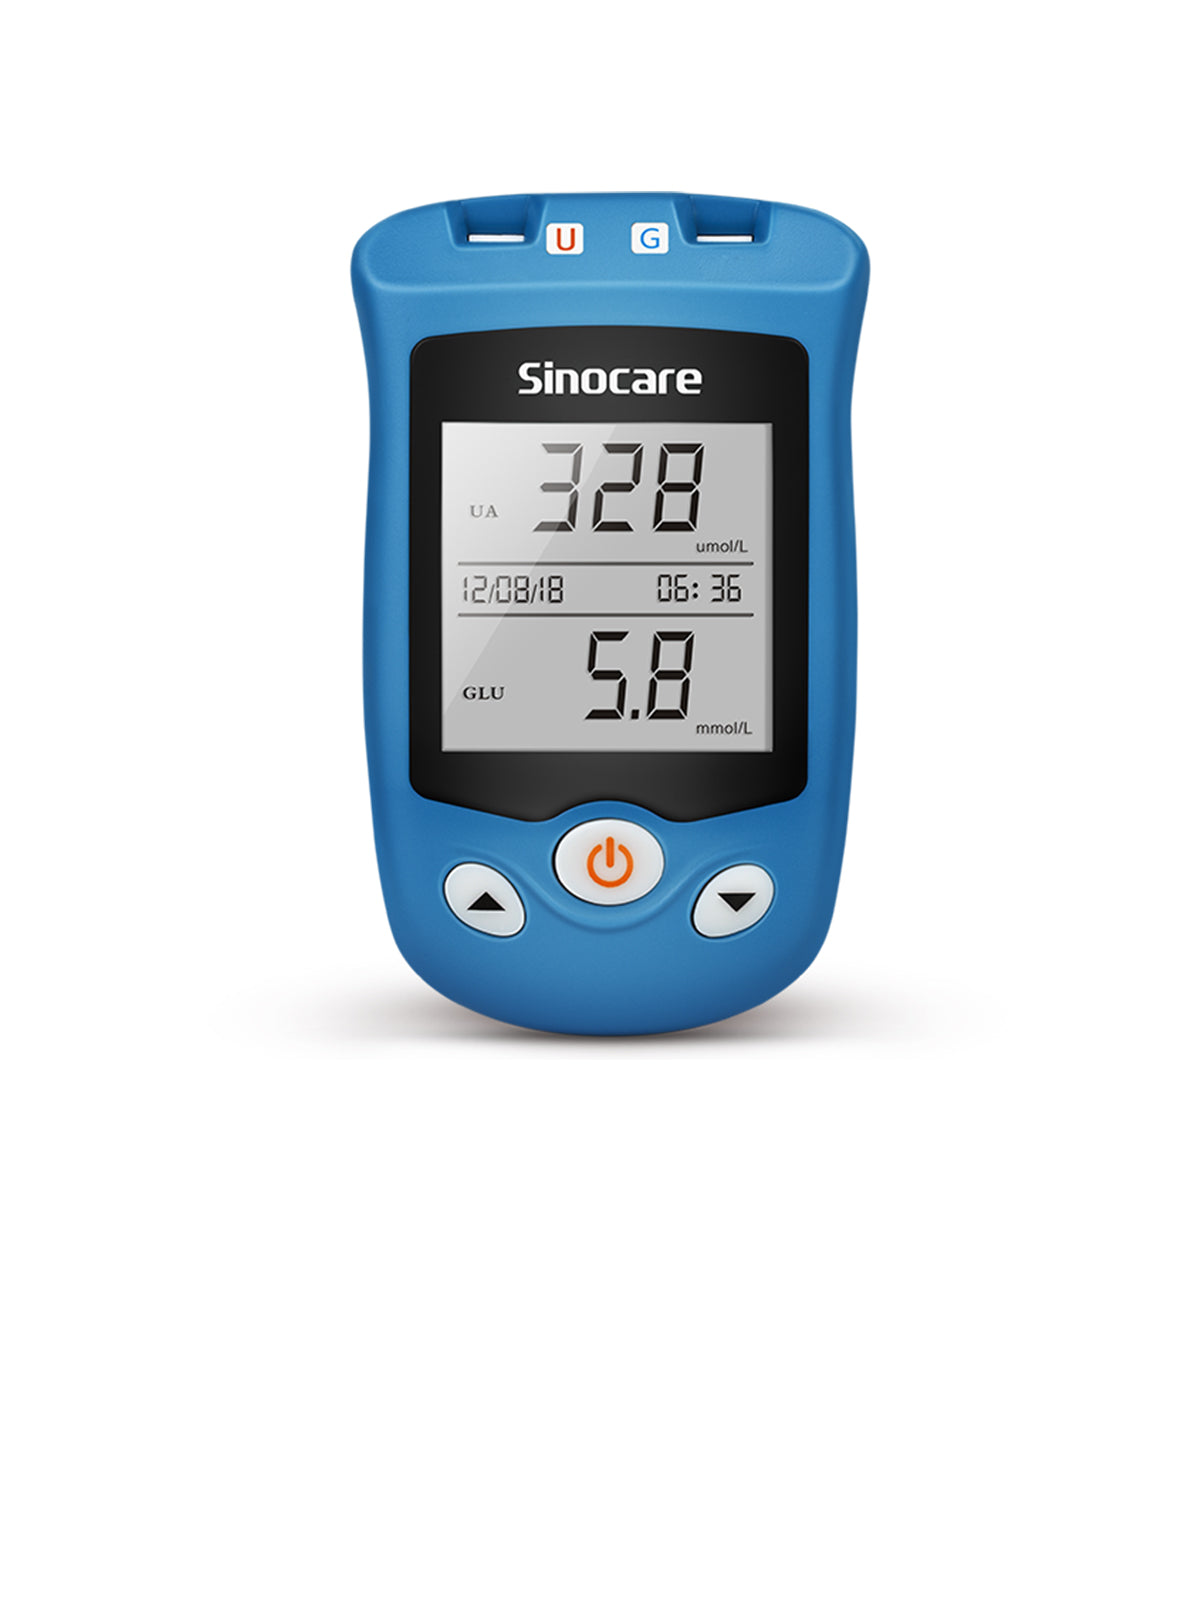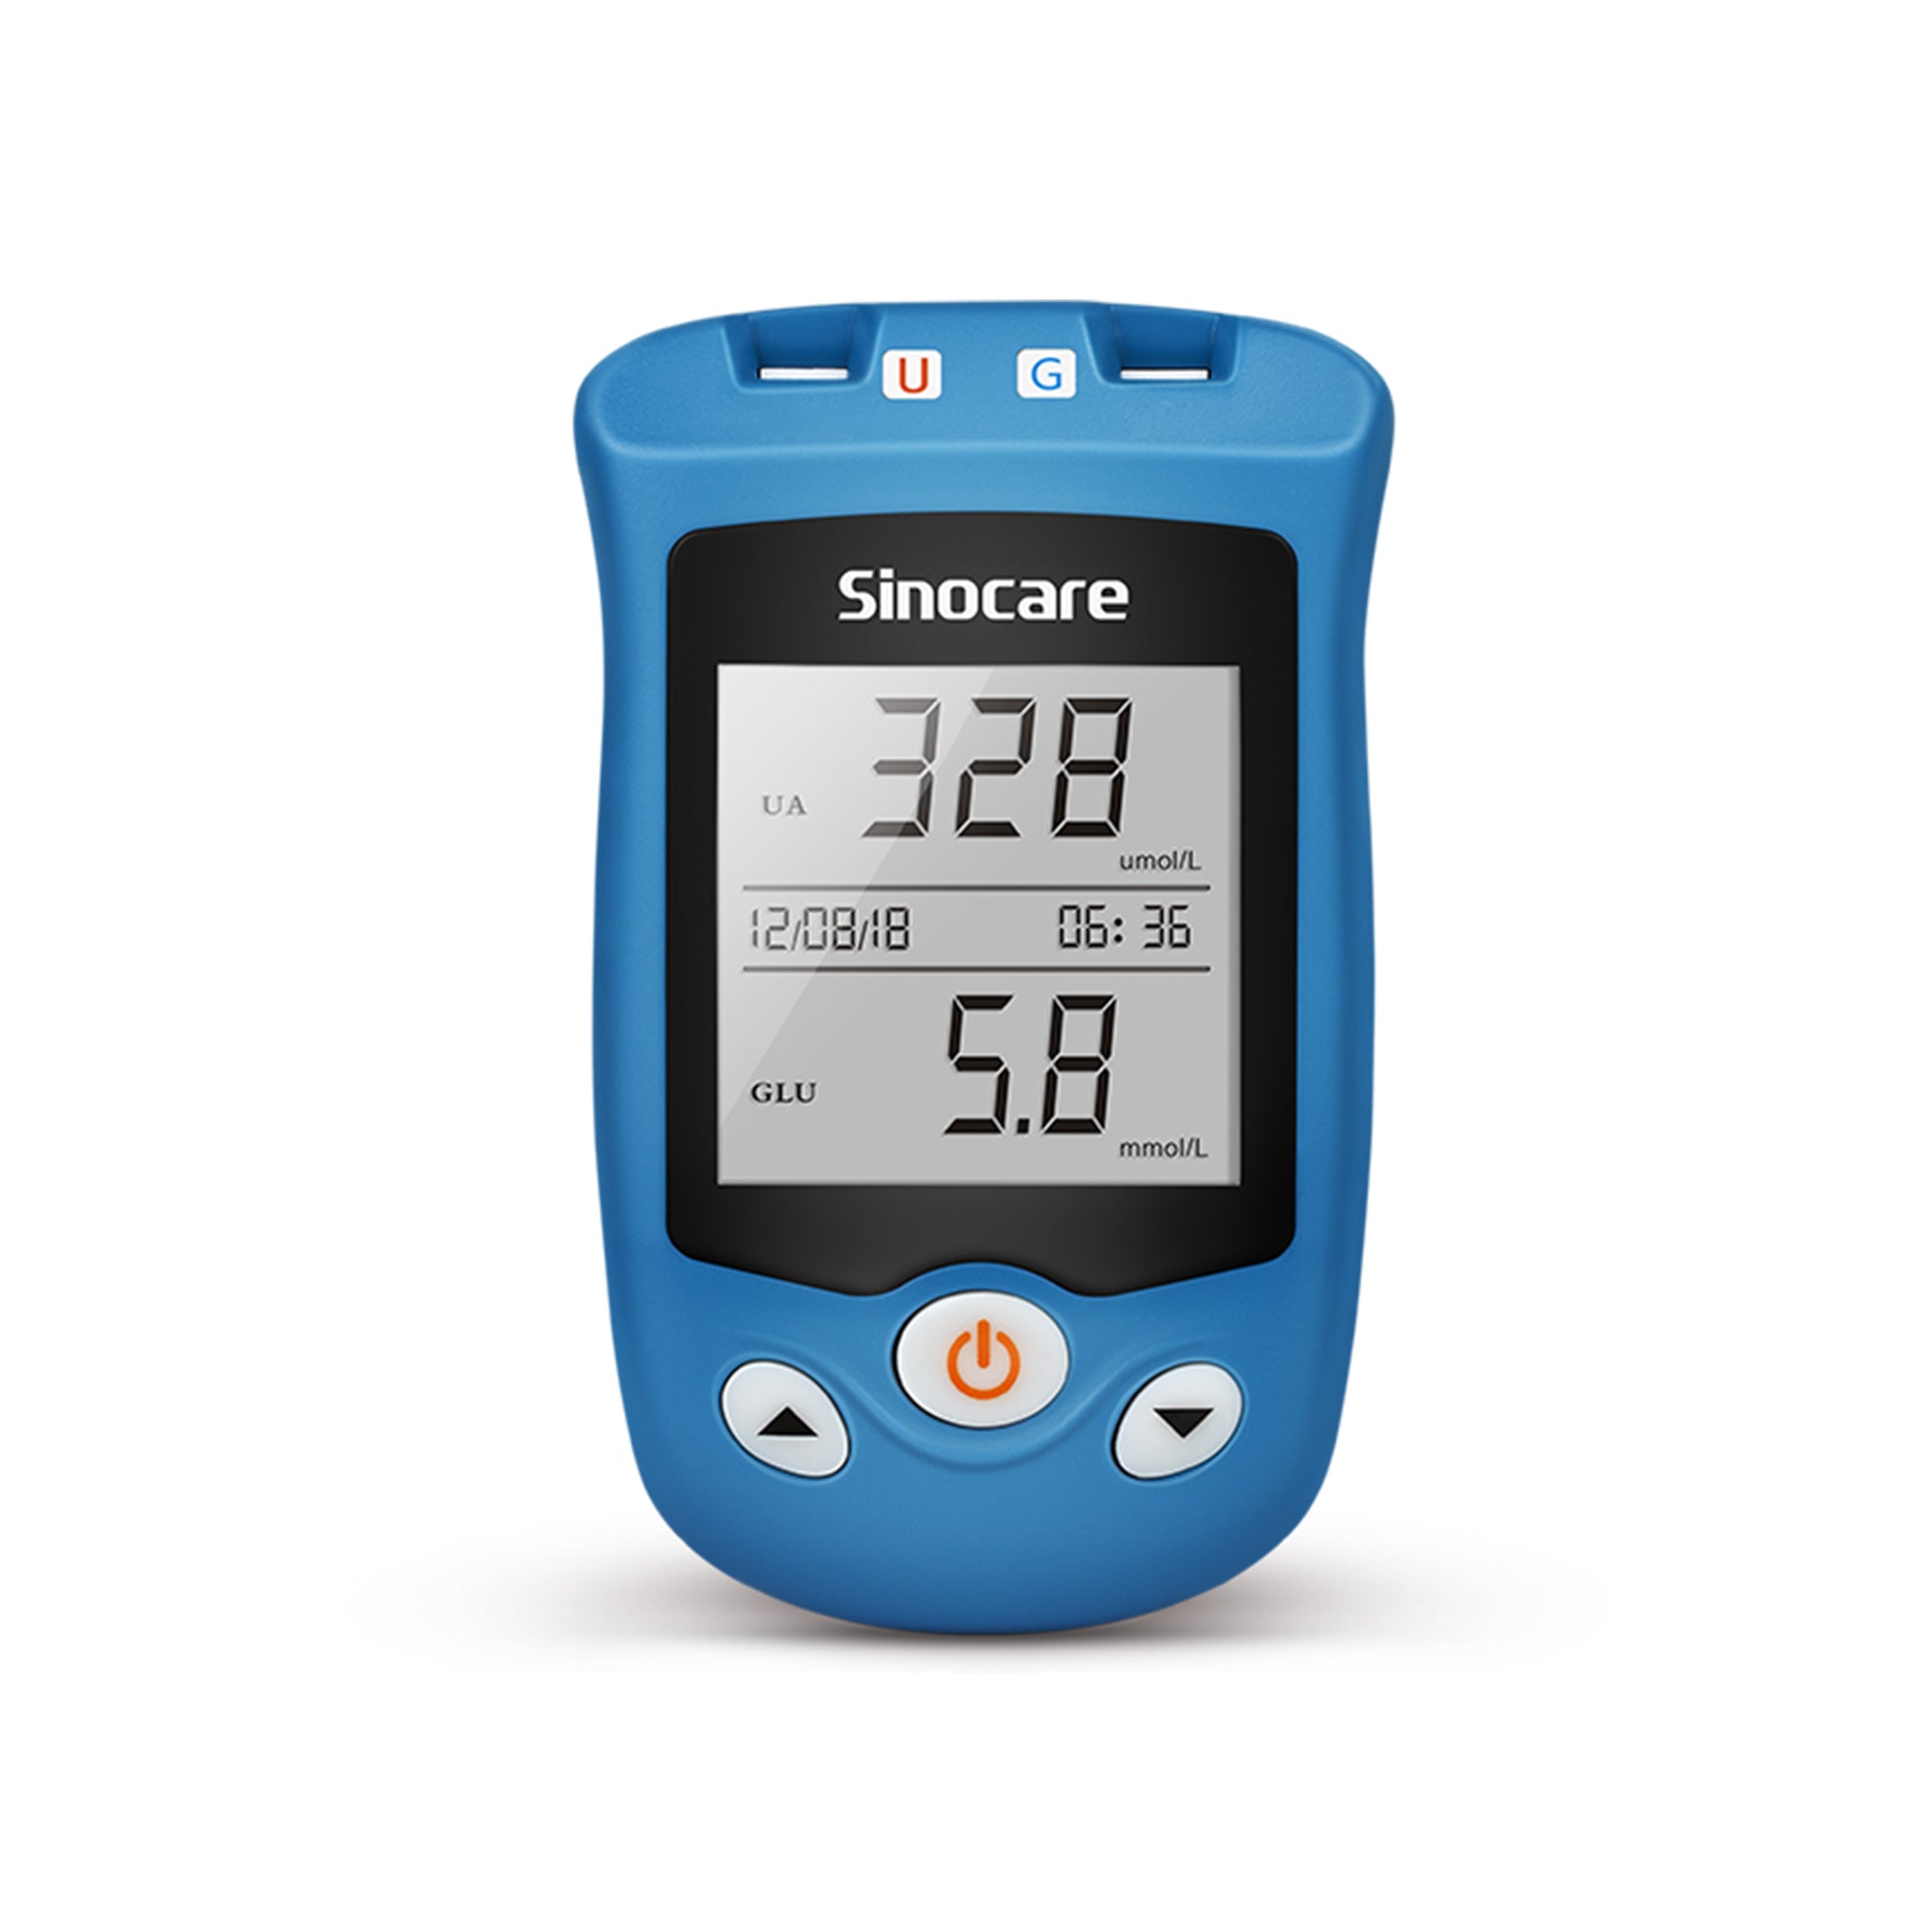
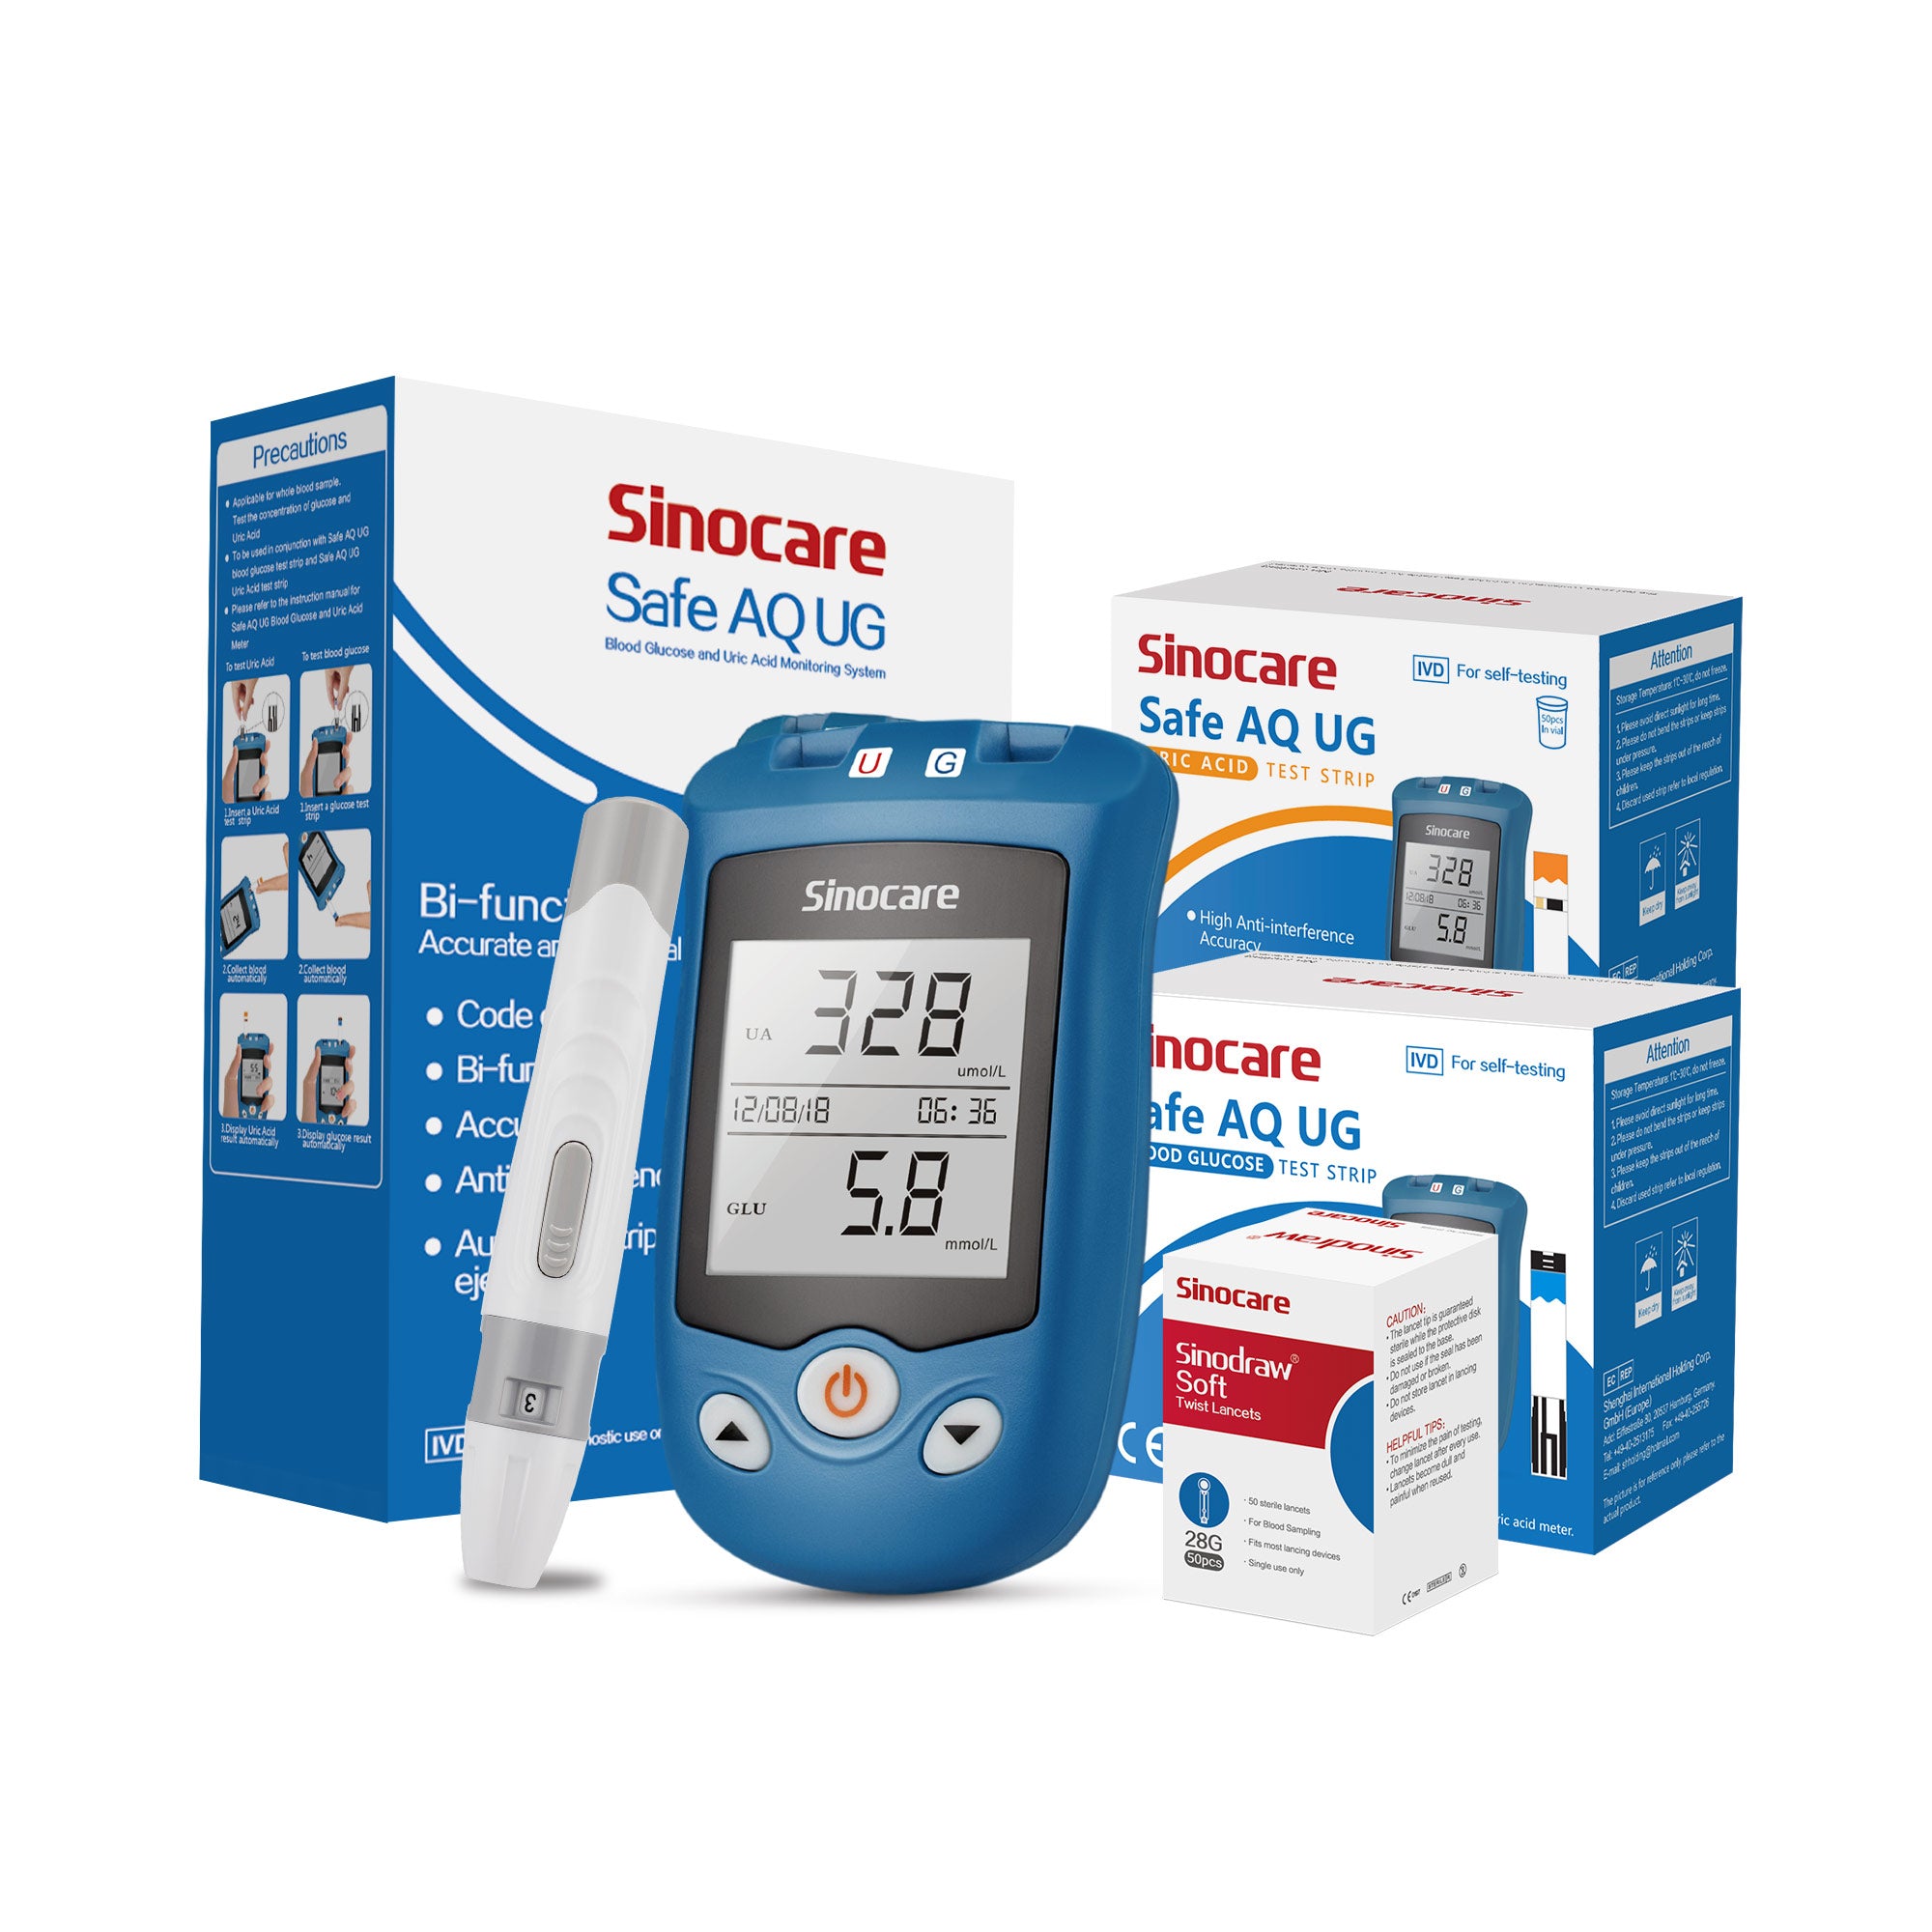

Sinocare Safe AQ UG Blood Glucose Uric Acid Meter with Advanced Test Strips Lancet for Multifunctions
Available Countries Drop-down
Available in Most Countries (Excluding the US)
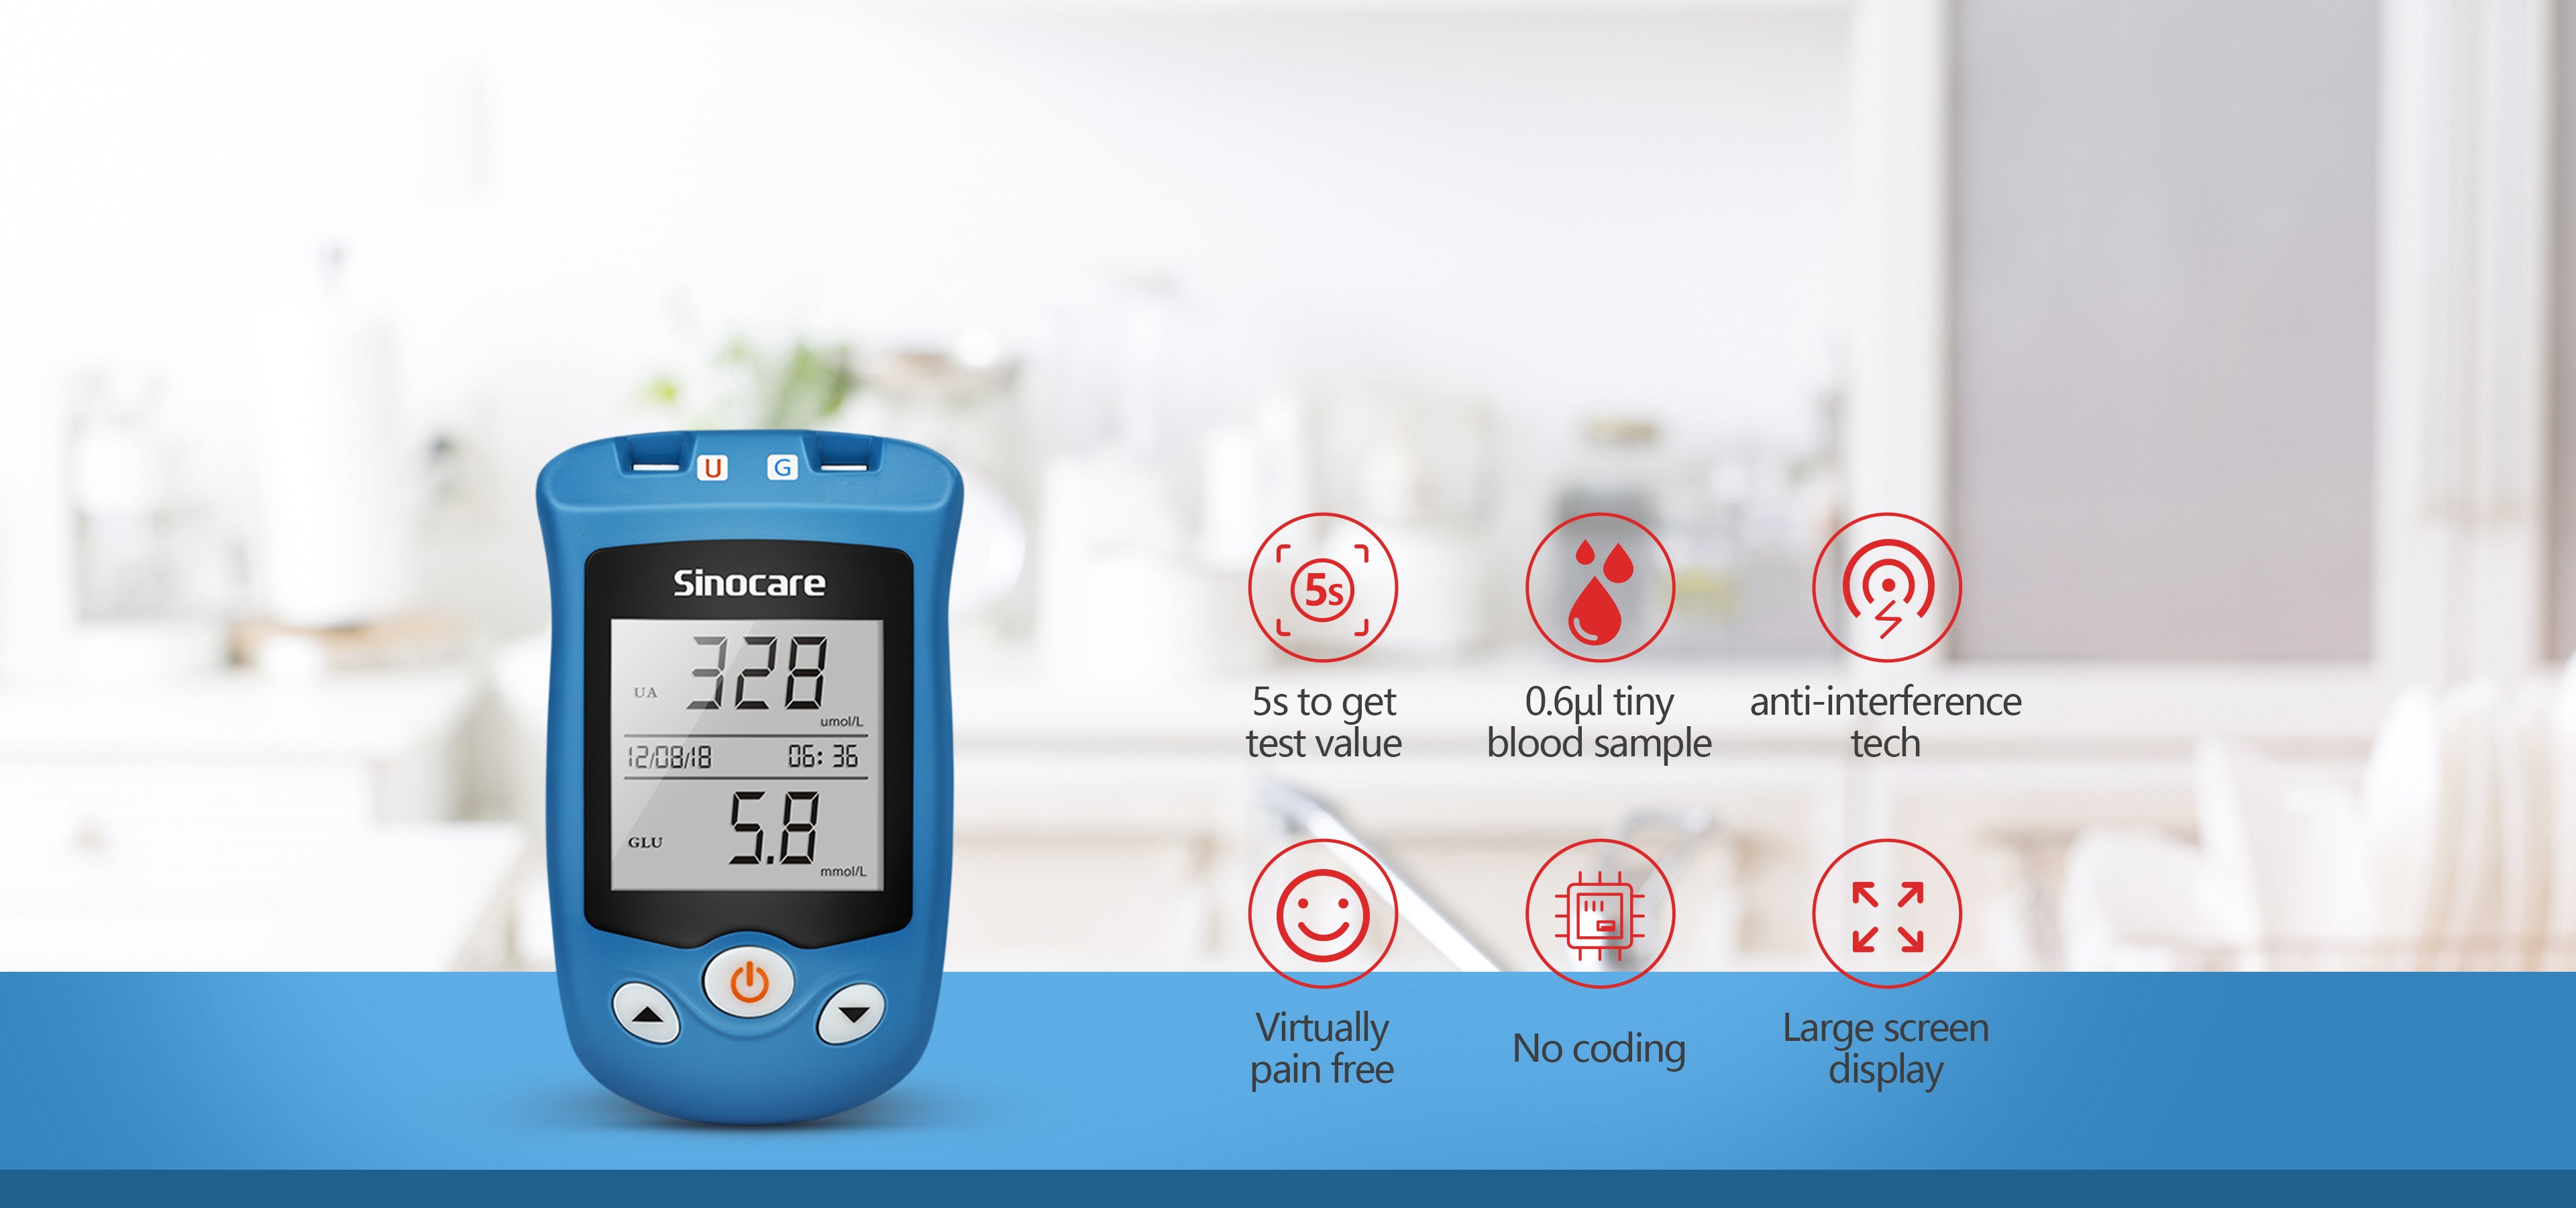
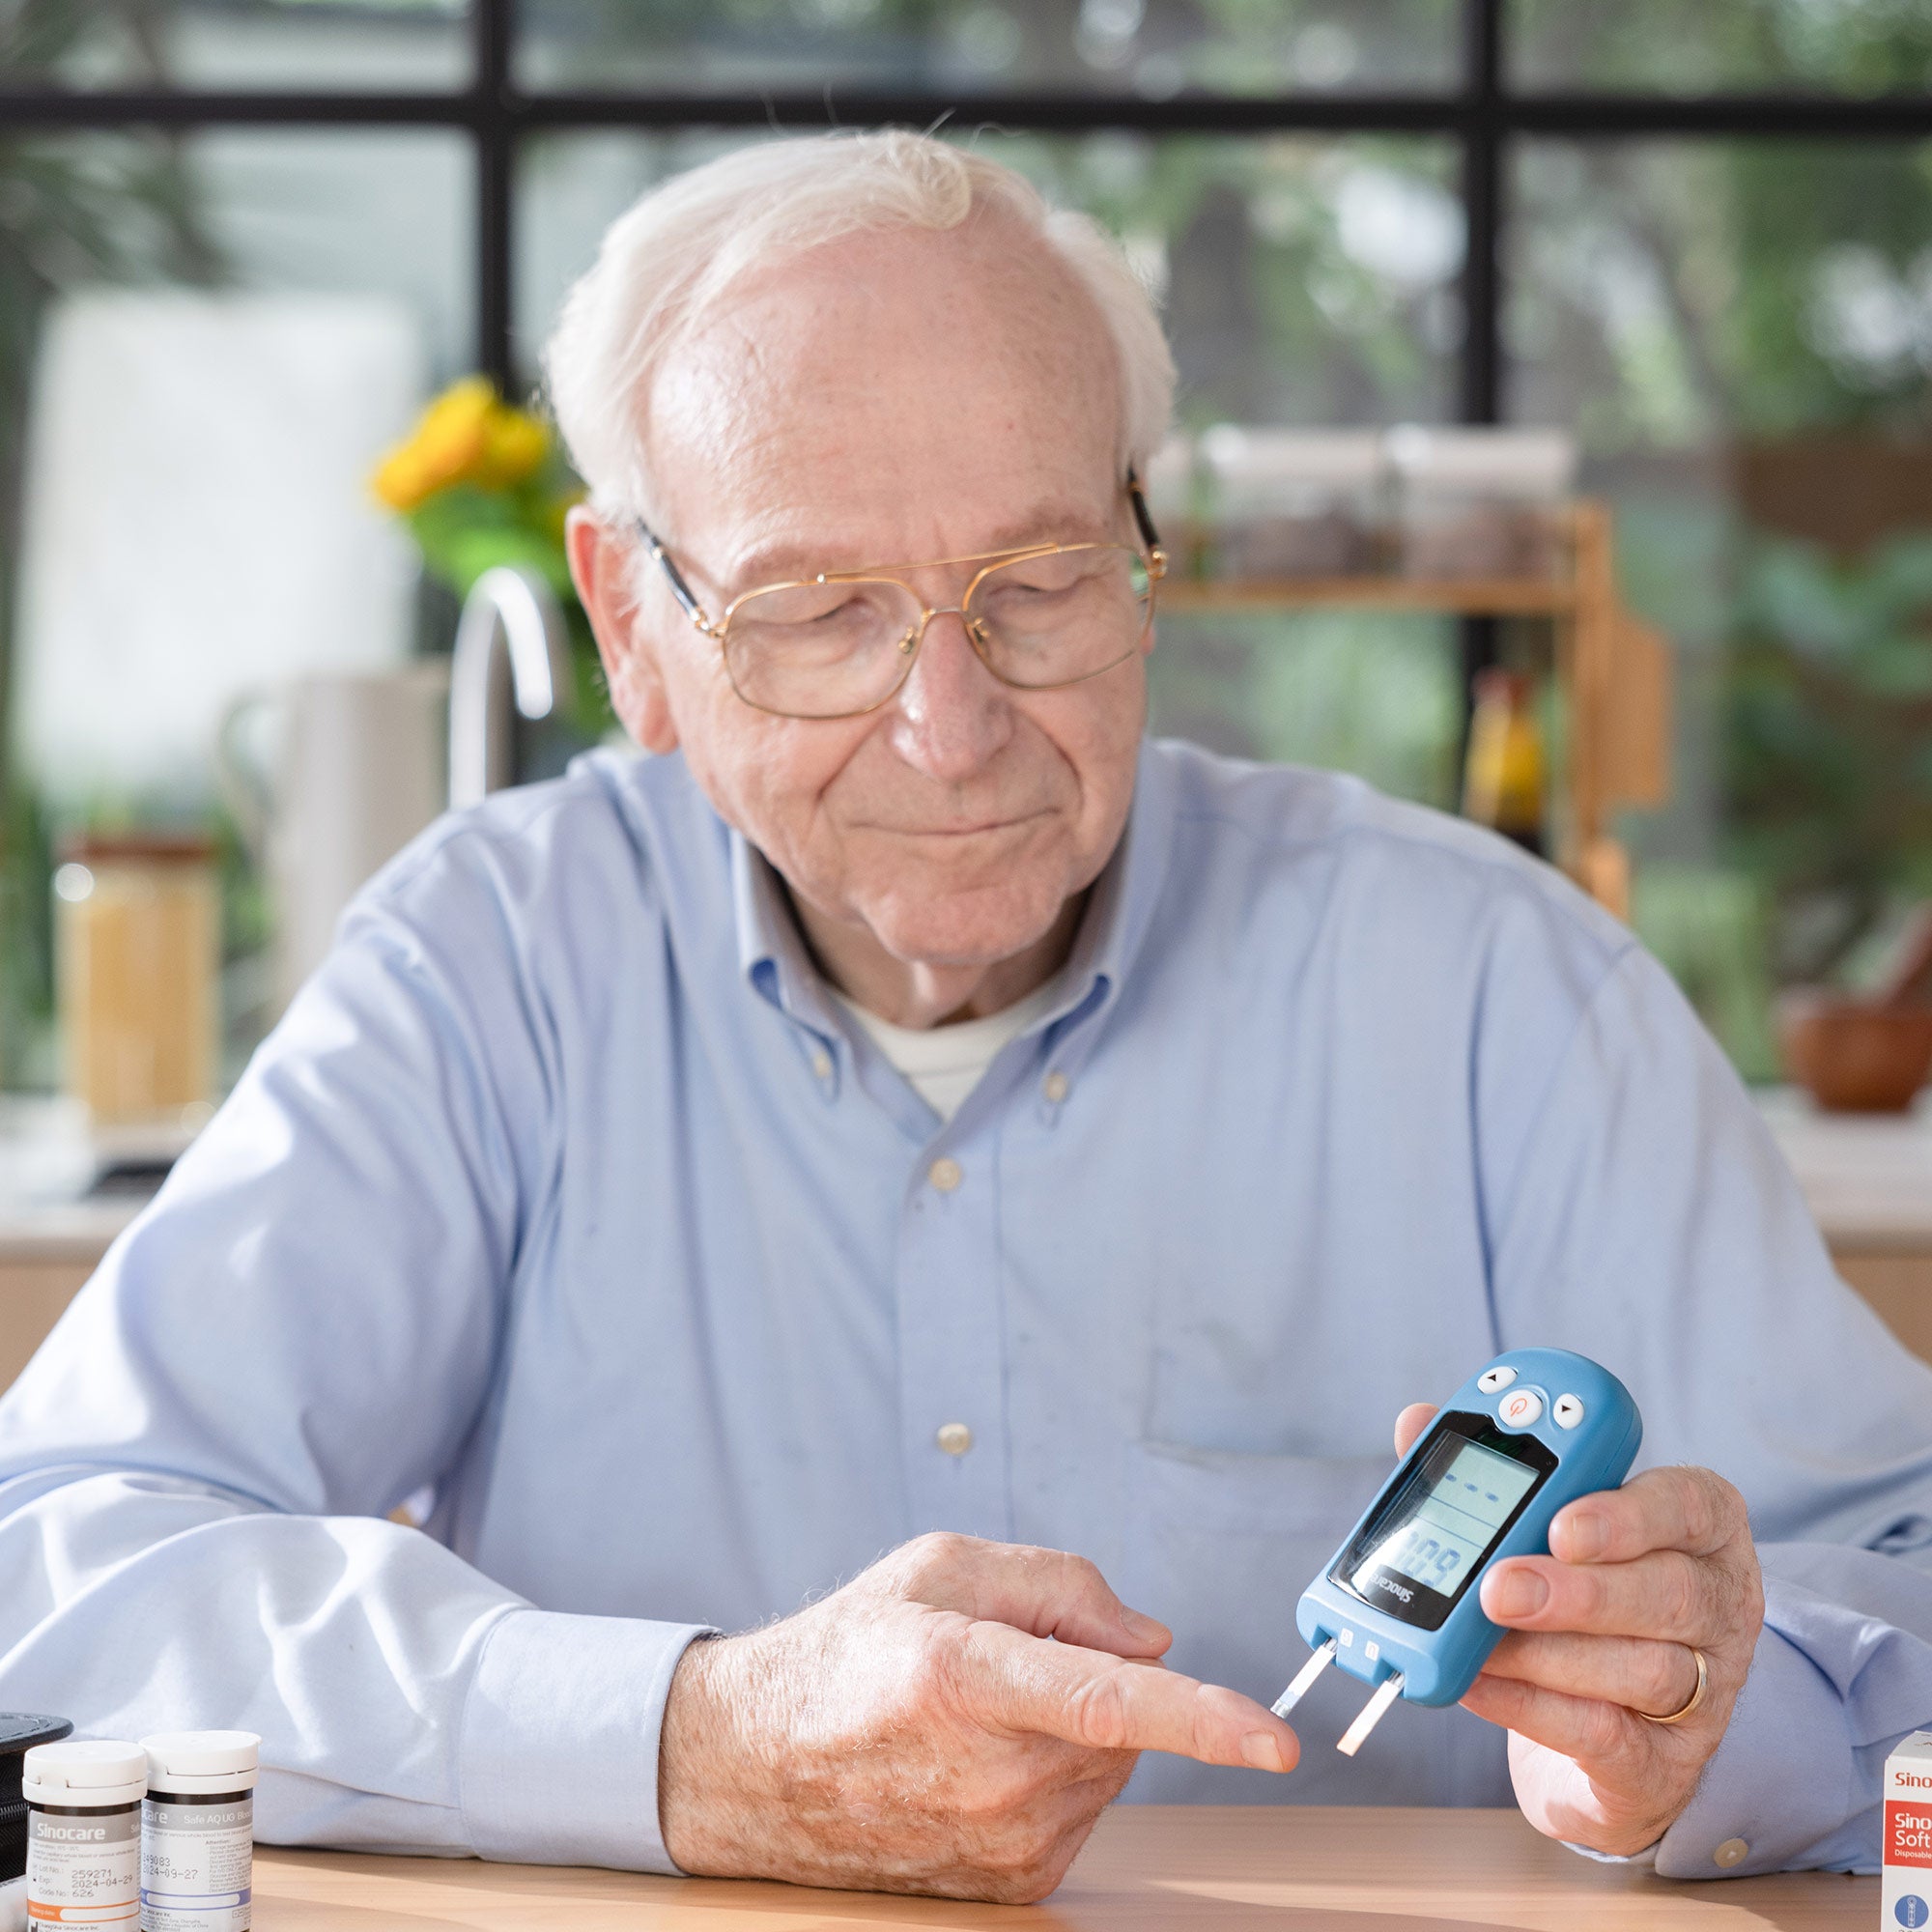
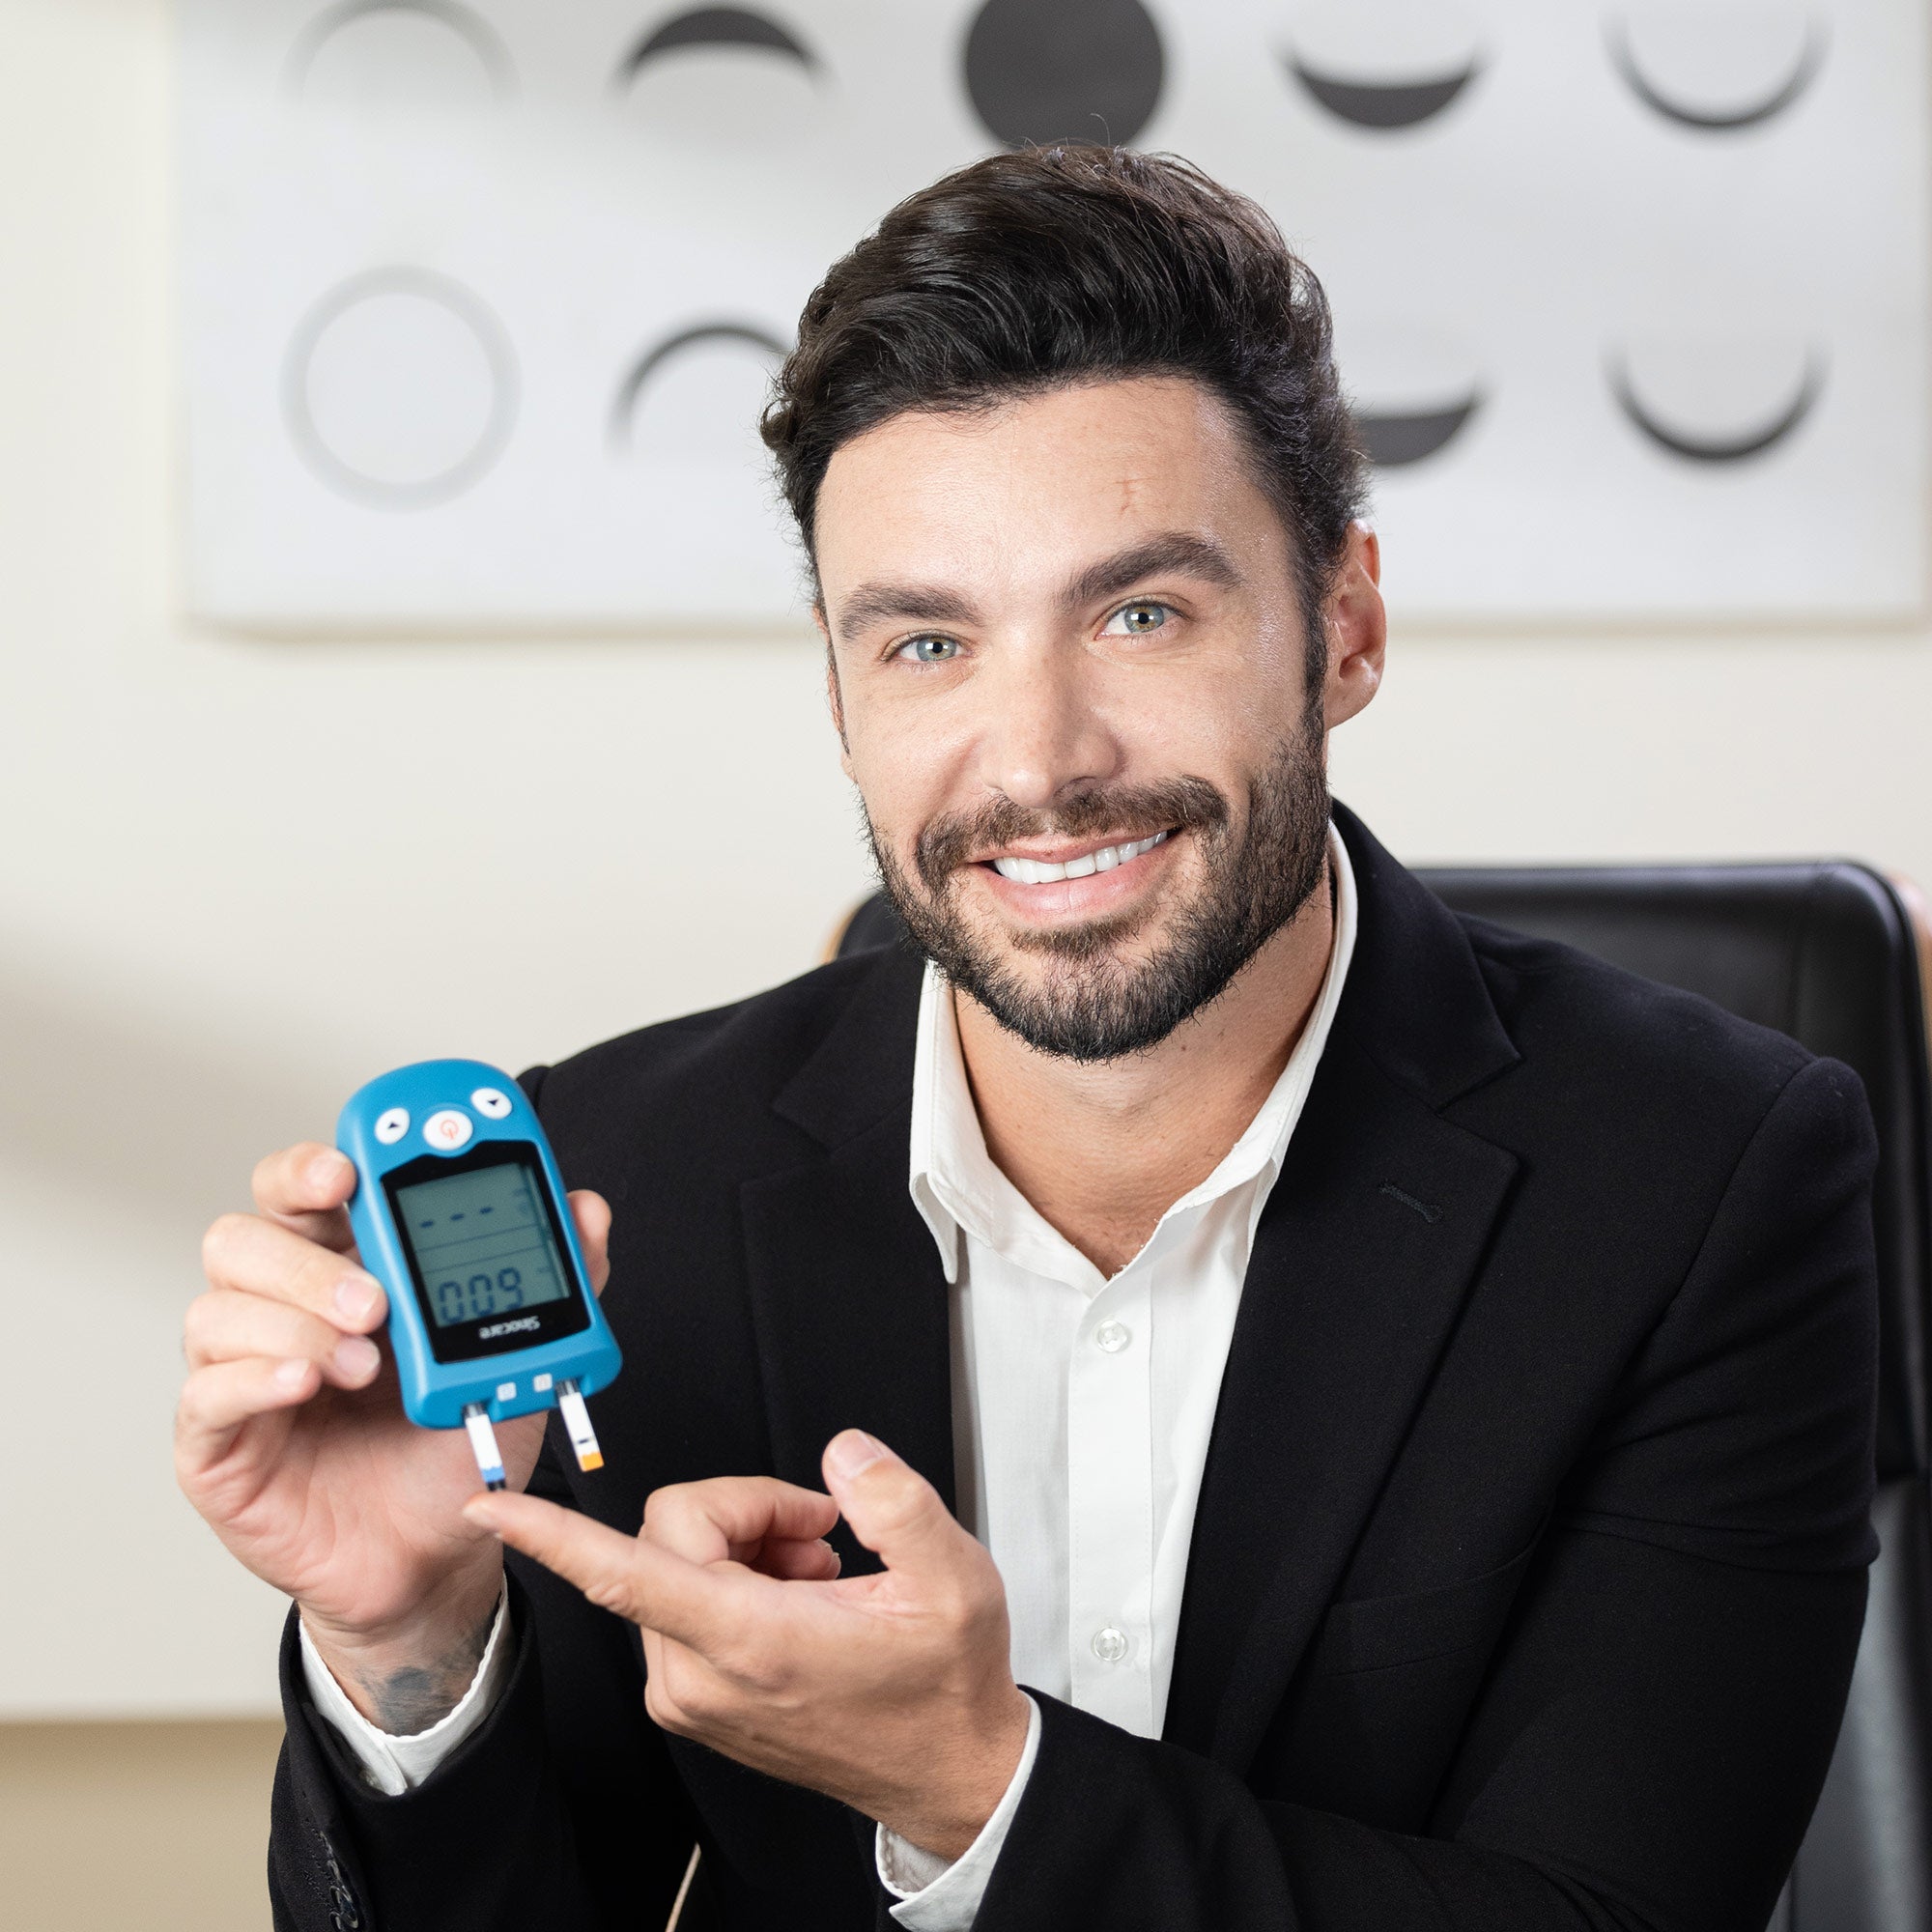
Accurate and straightforward Testing: It helps you quickly get exact and fast results. A new modern design with a high-contrast LCD is for more accessible and discrete use.
Advanced Electrode Strips: It can avoid interference from blood oxygen variations and assure you of accurate test results each time.
Small and Easy to Use: You can use this device with one-handed priming. Fast lancing and personalized adjustable penetration depth settings are employed. A virtually pain-free lancing design can effectively helps minimize skin damage.

- Overview
- Specs
- Reviews
- Notice

Scientific verification, with good clinical utility
It can be effectively avoid blood, ascorbic acid and other internal andexternal sources of interference, to ensure stable test accuracy
GU Two Function Test System
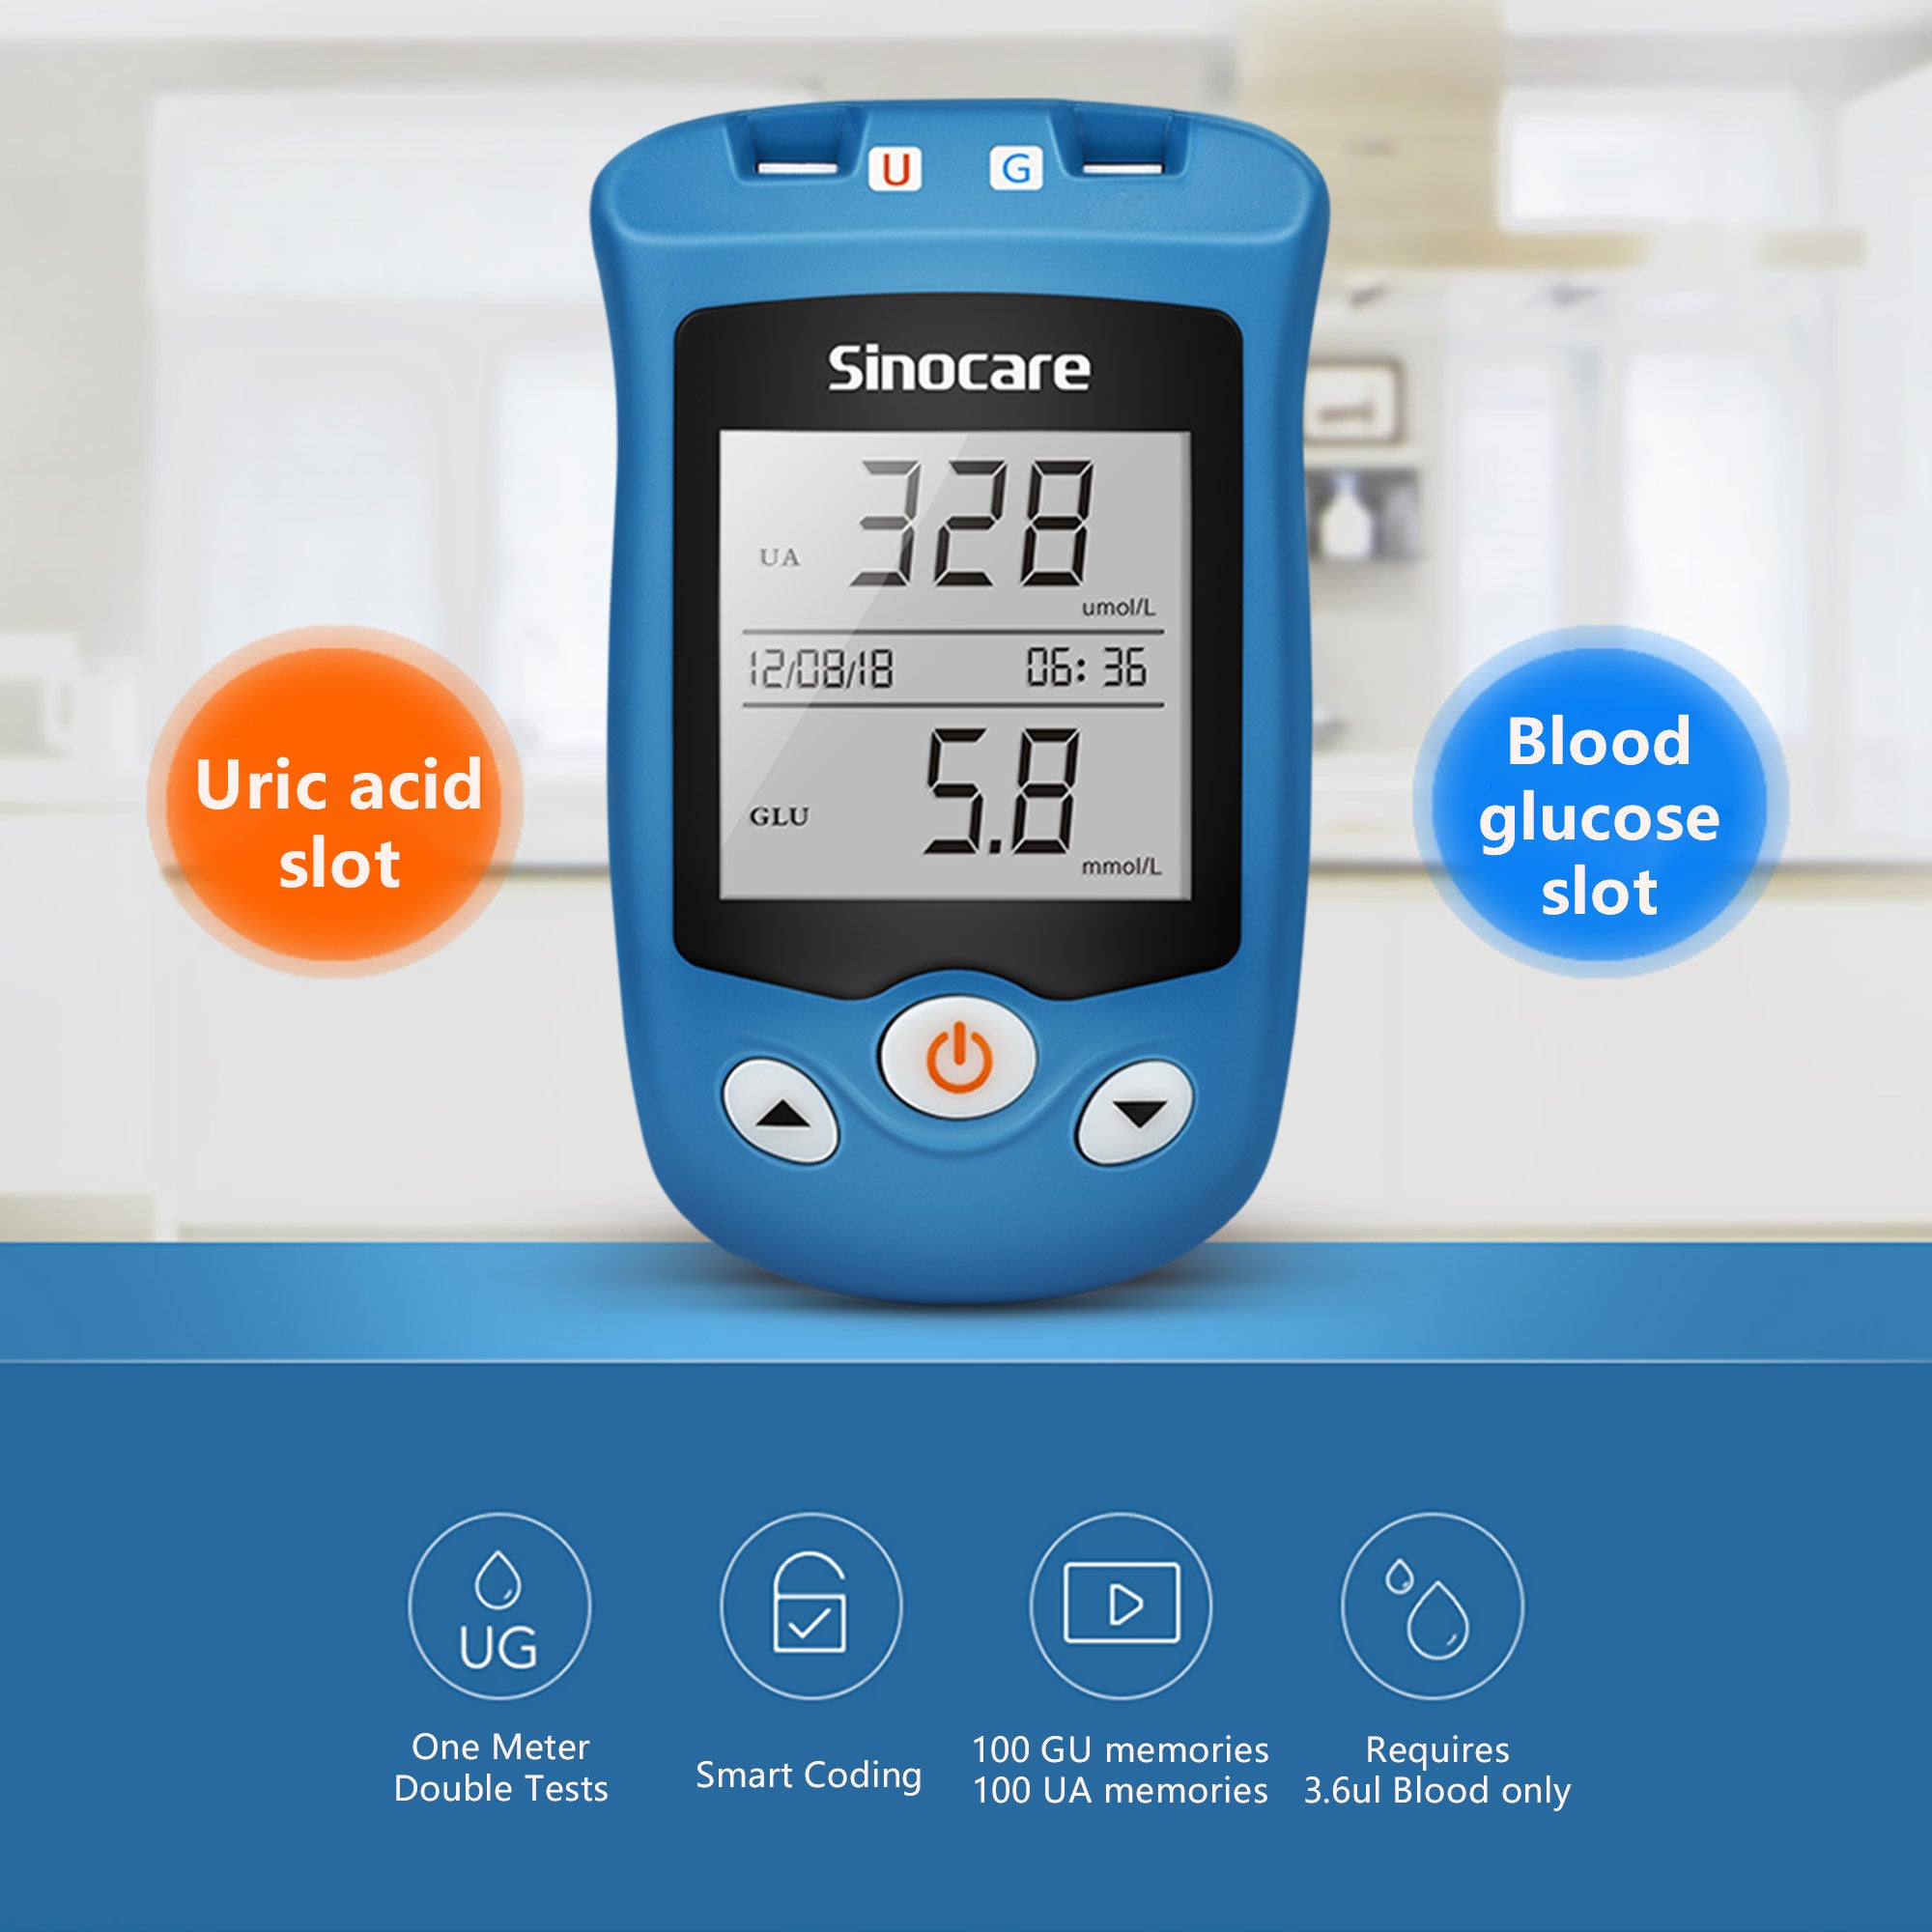
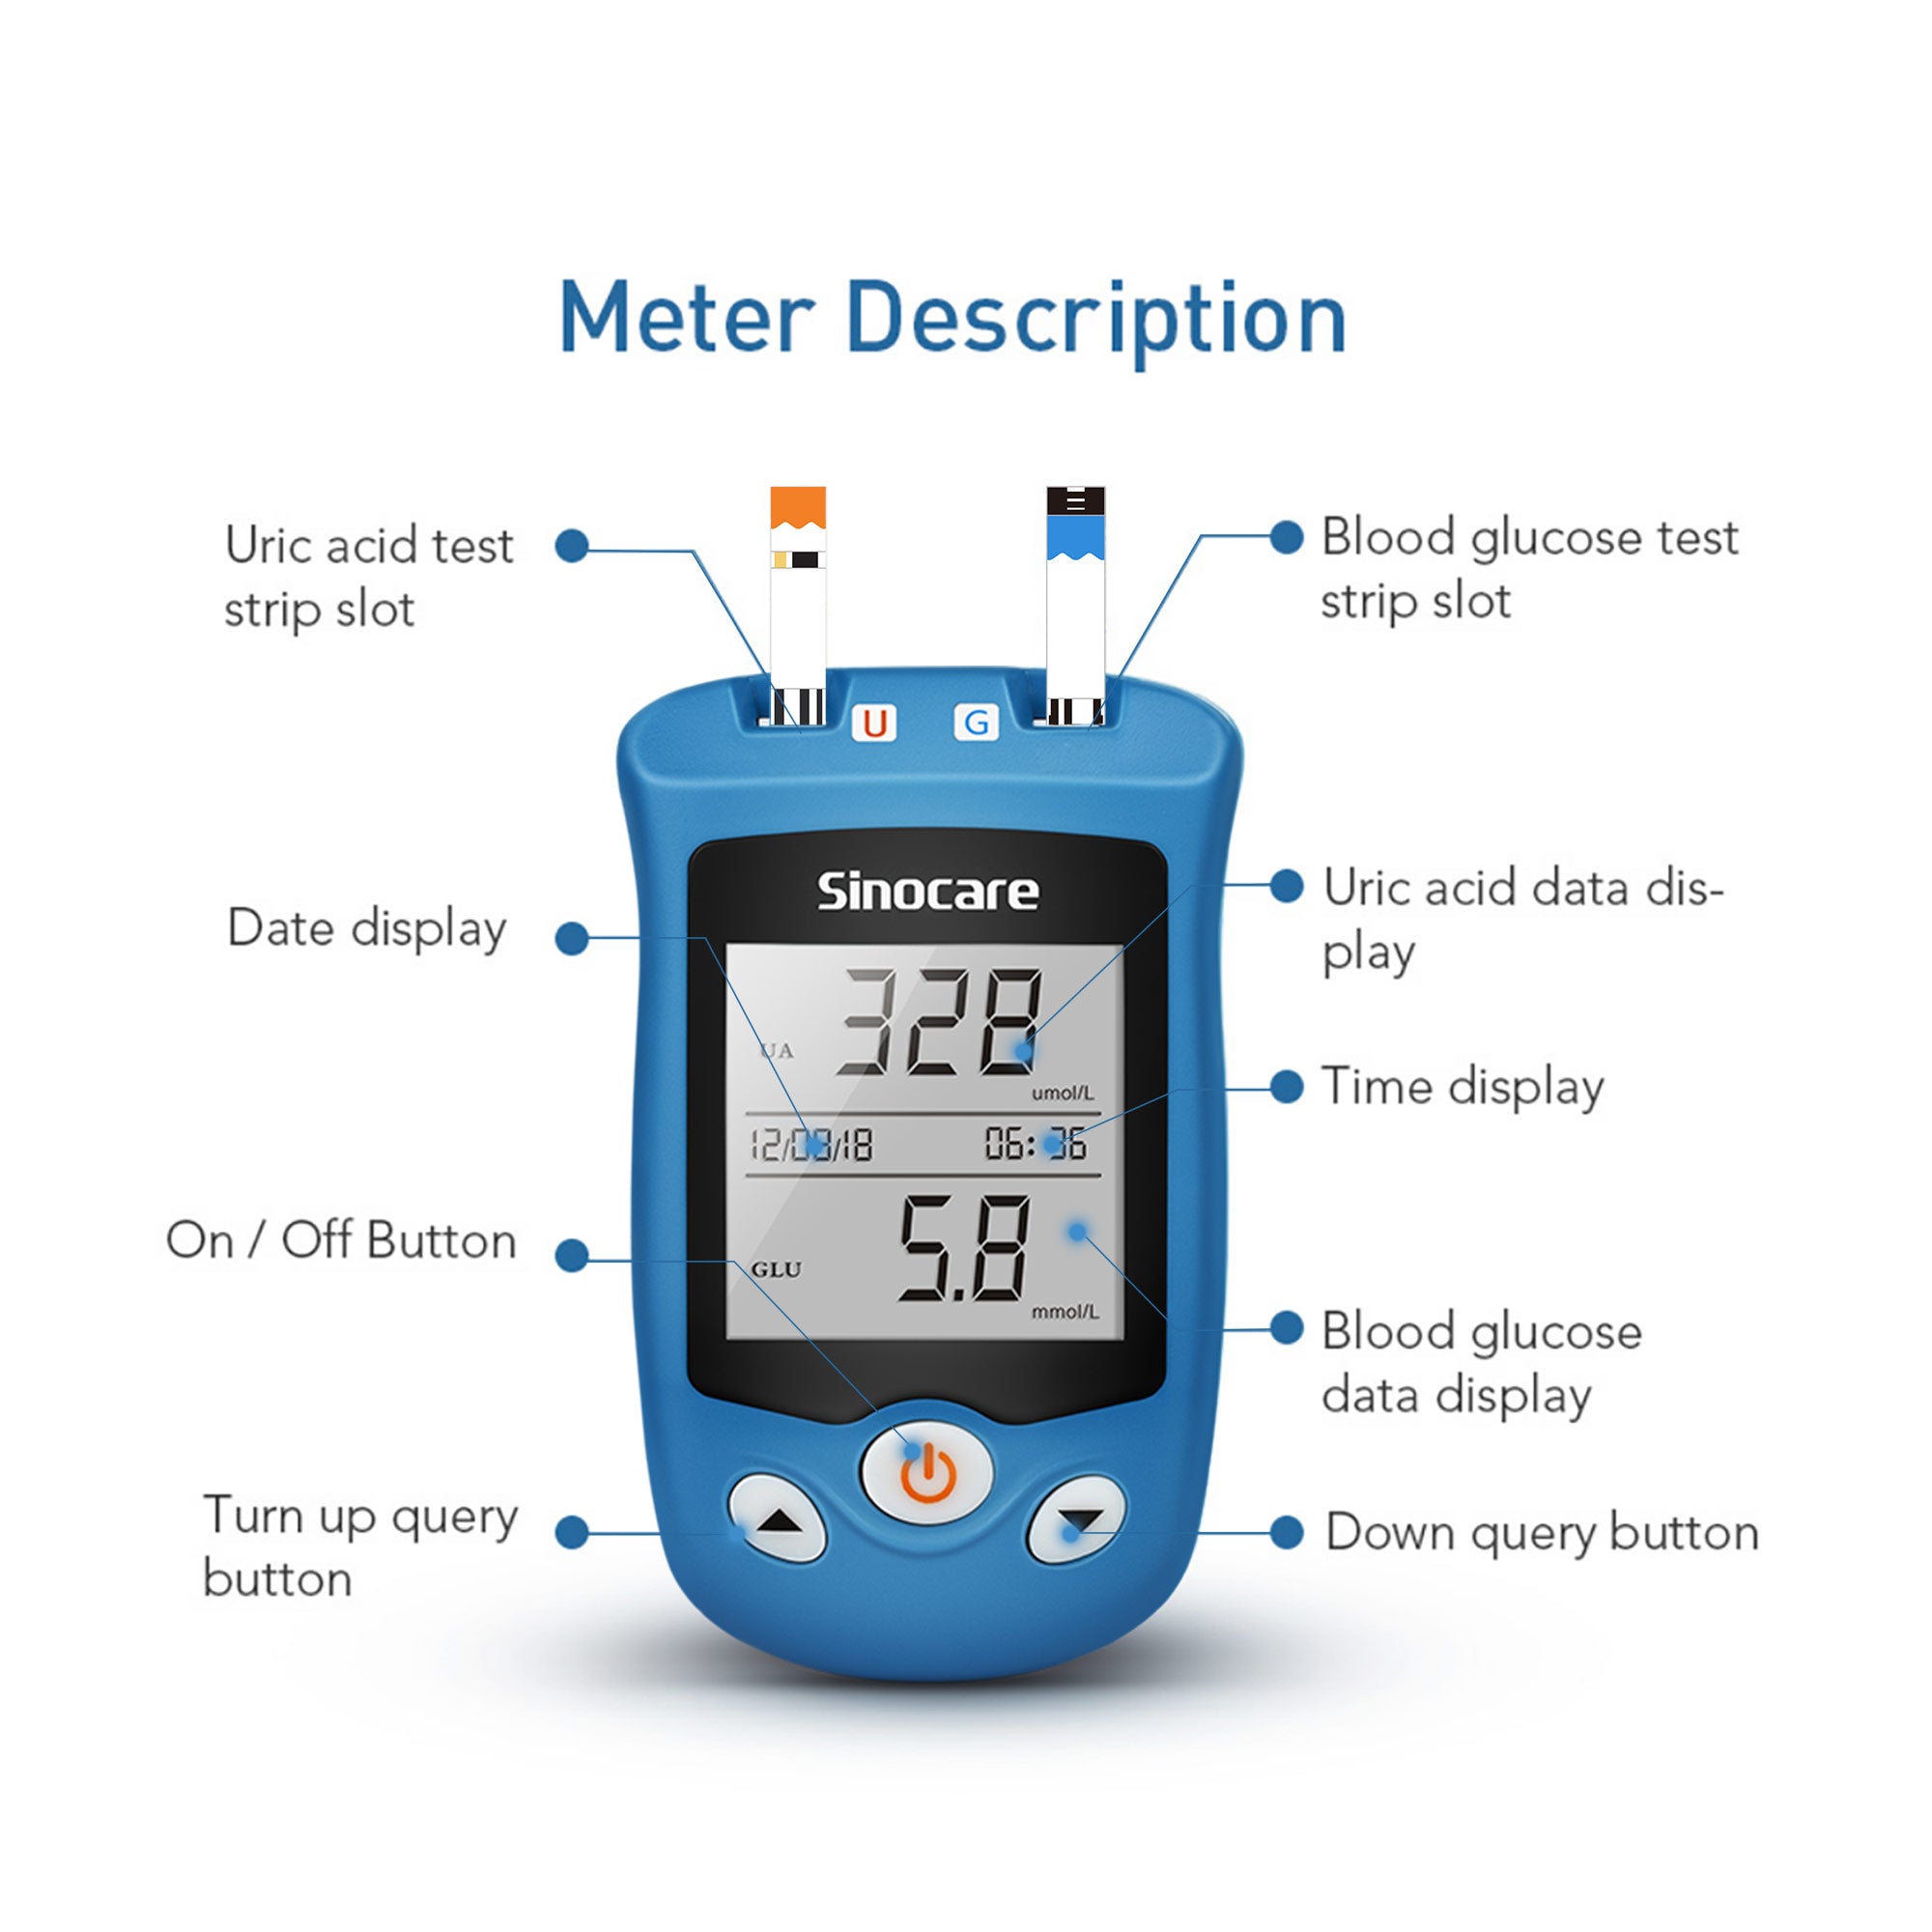
Double-slot design, get blood glucose and uric acid result via ONE machine
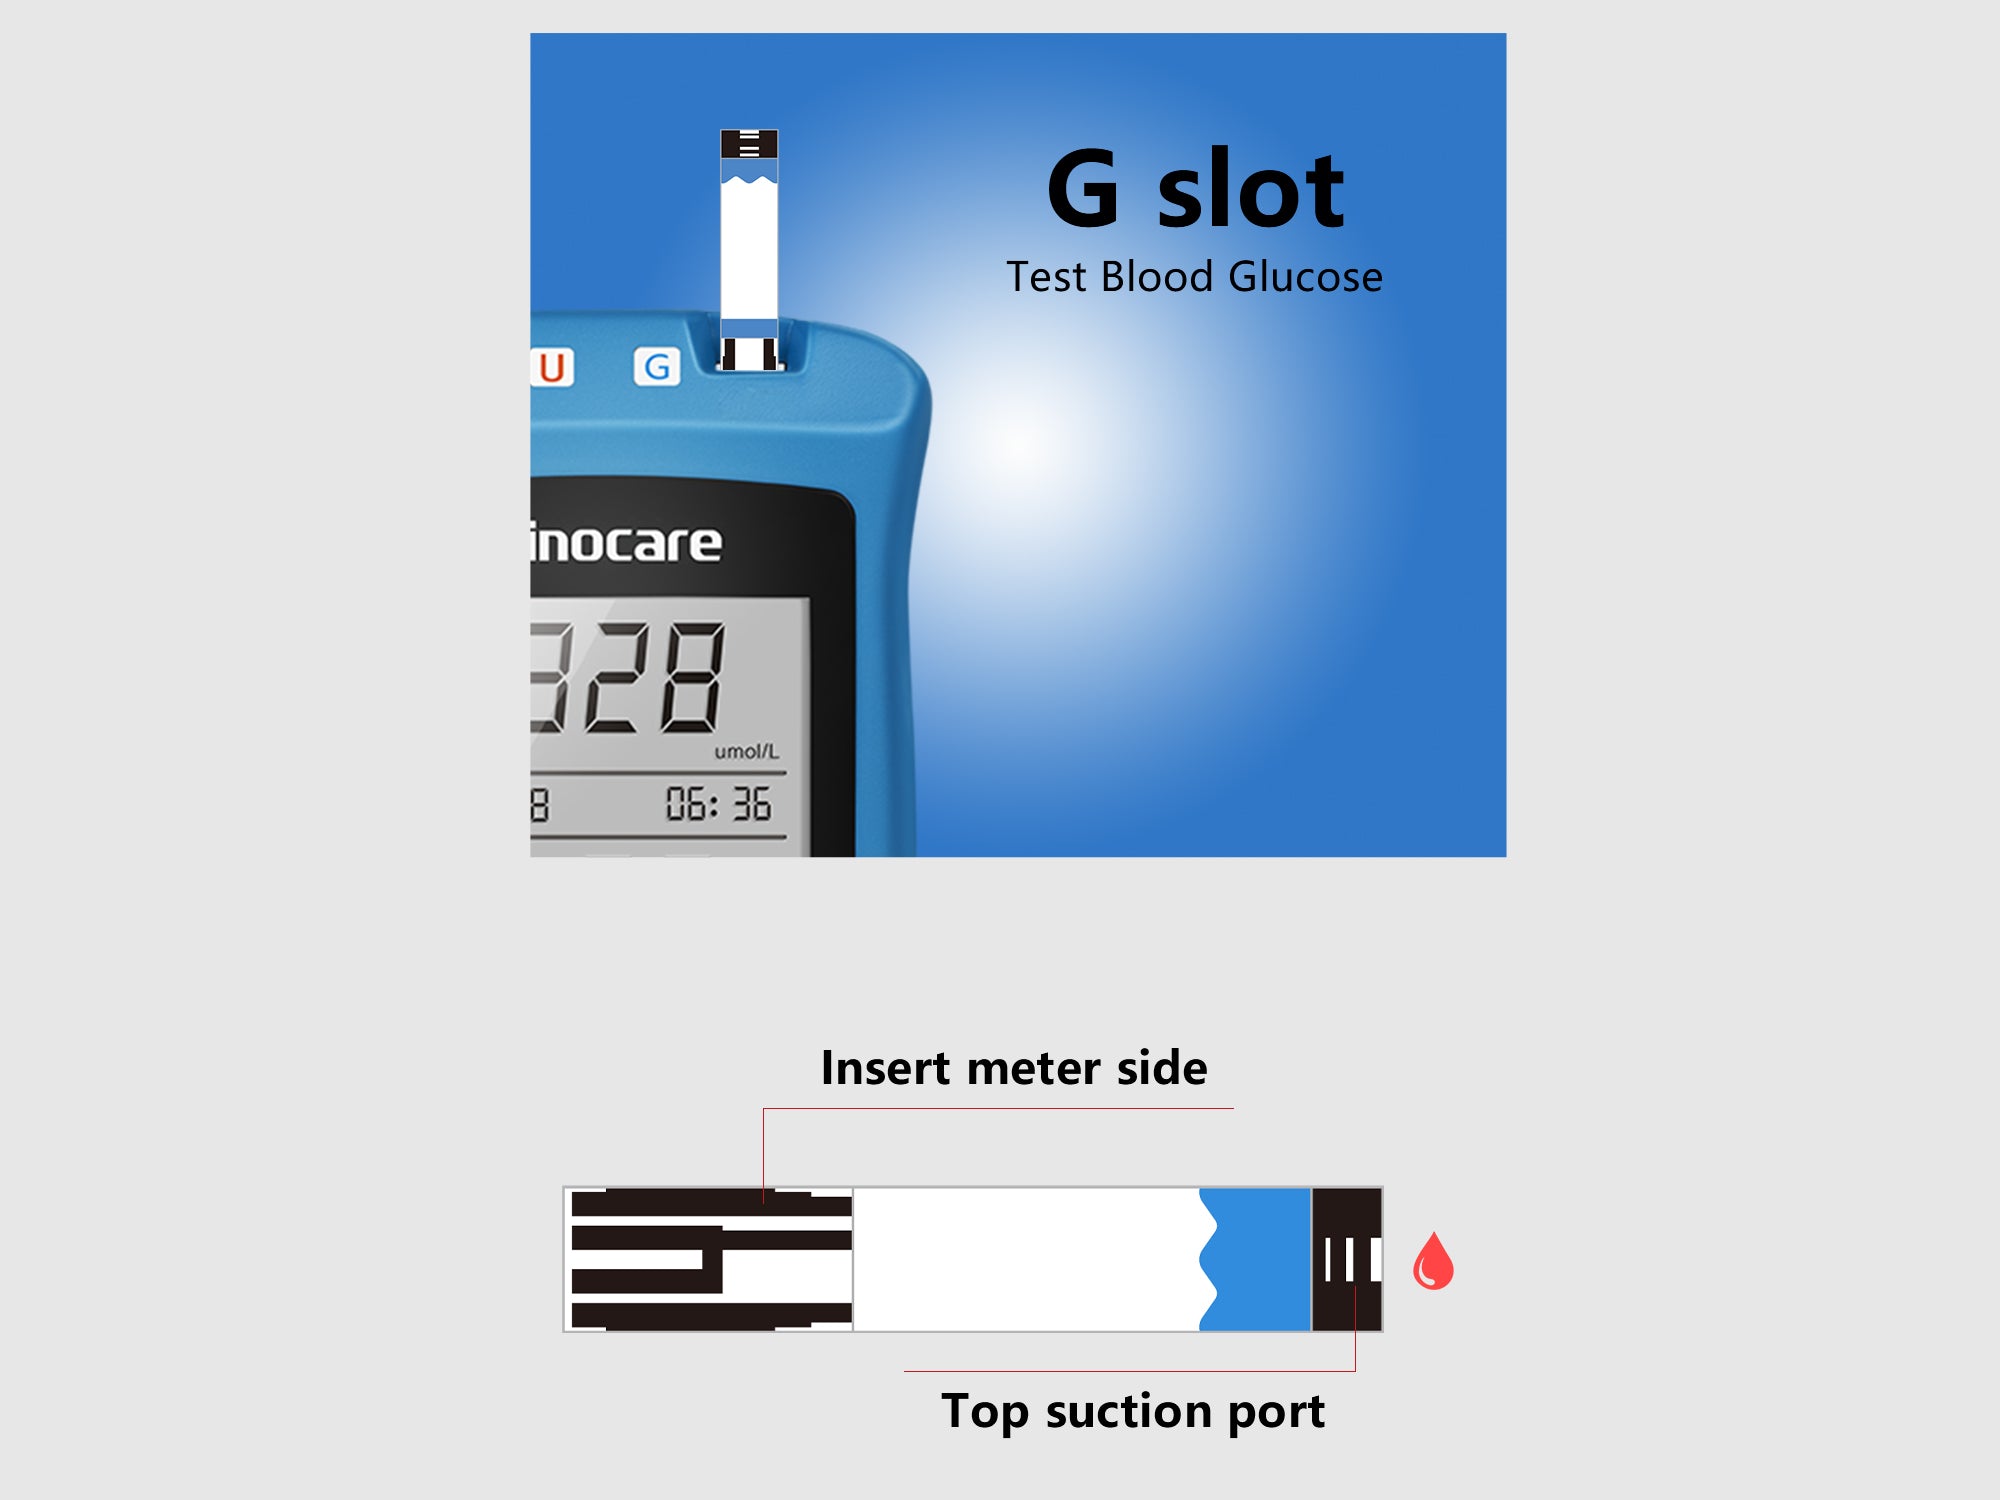
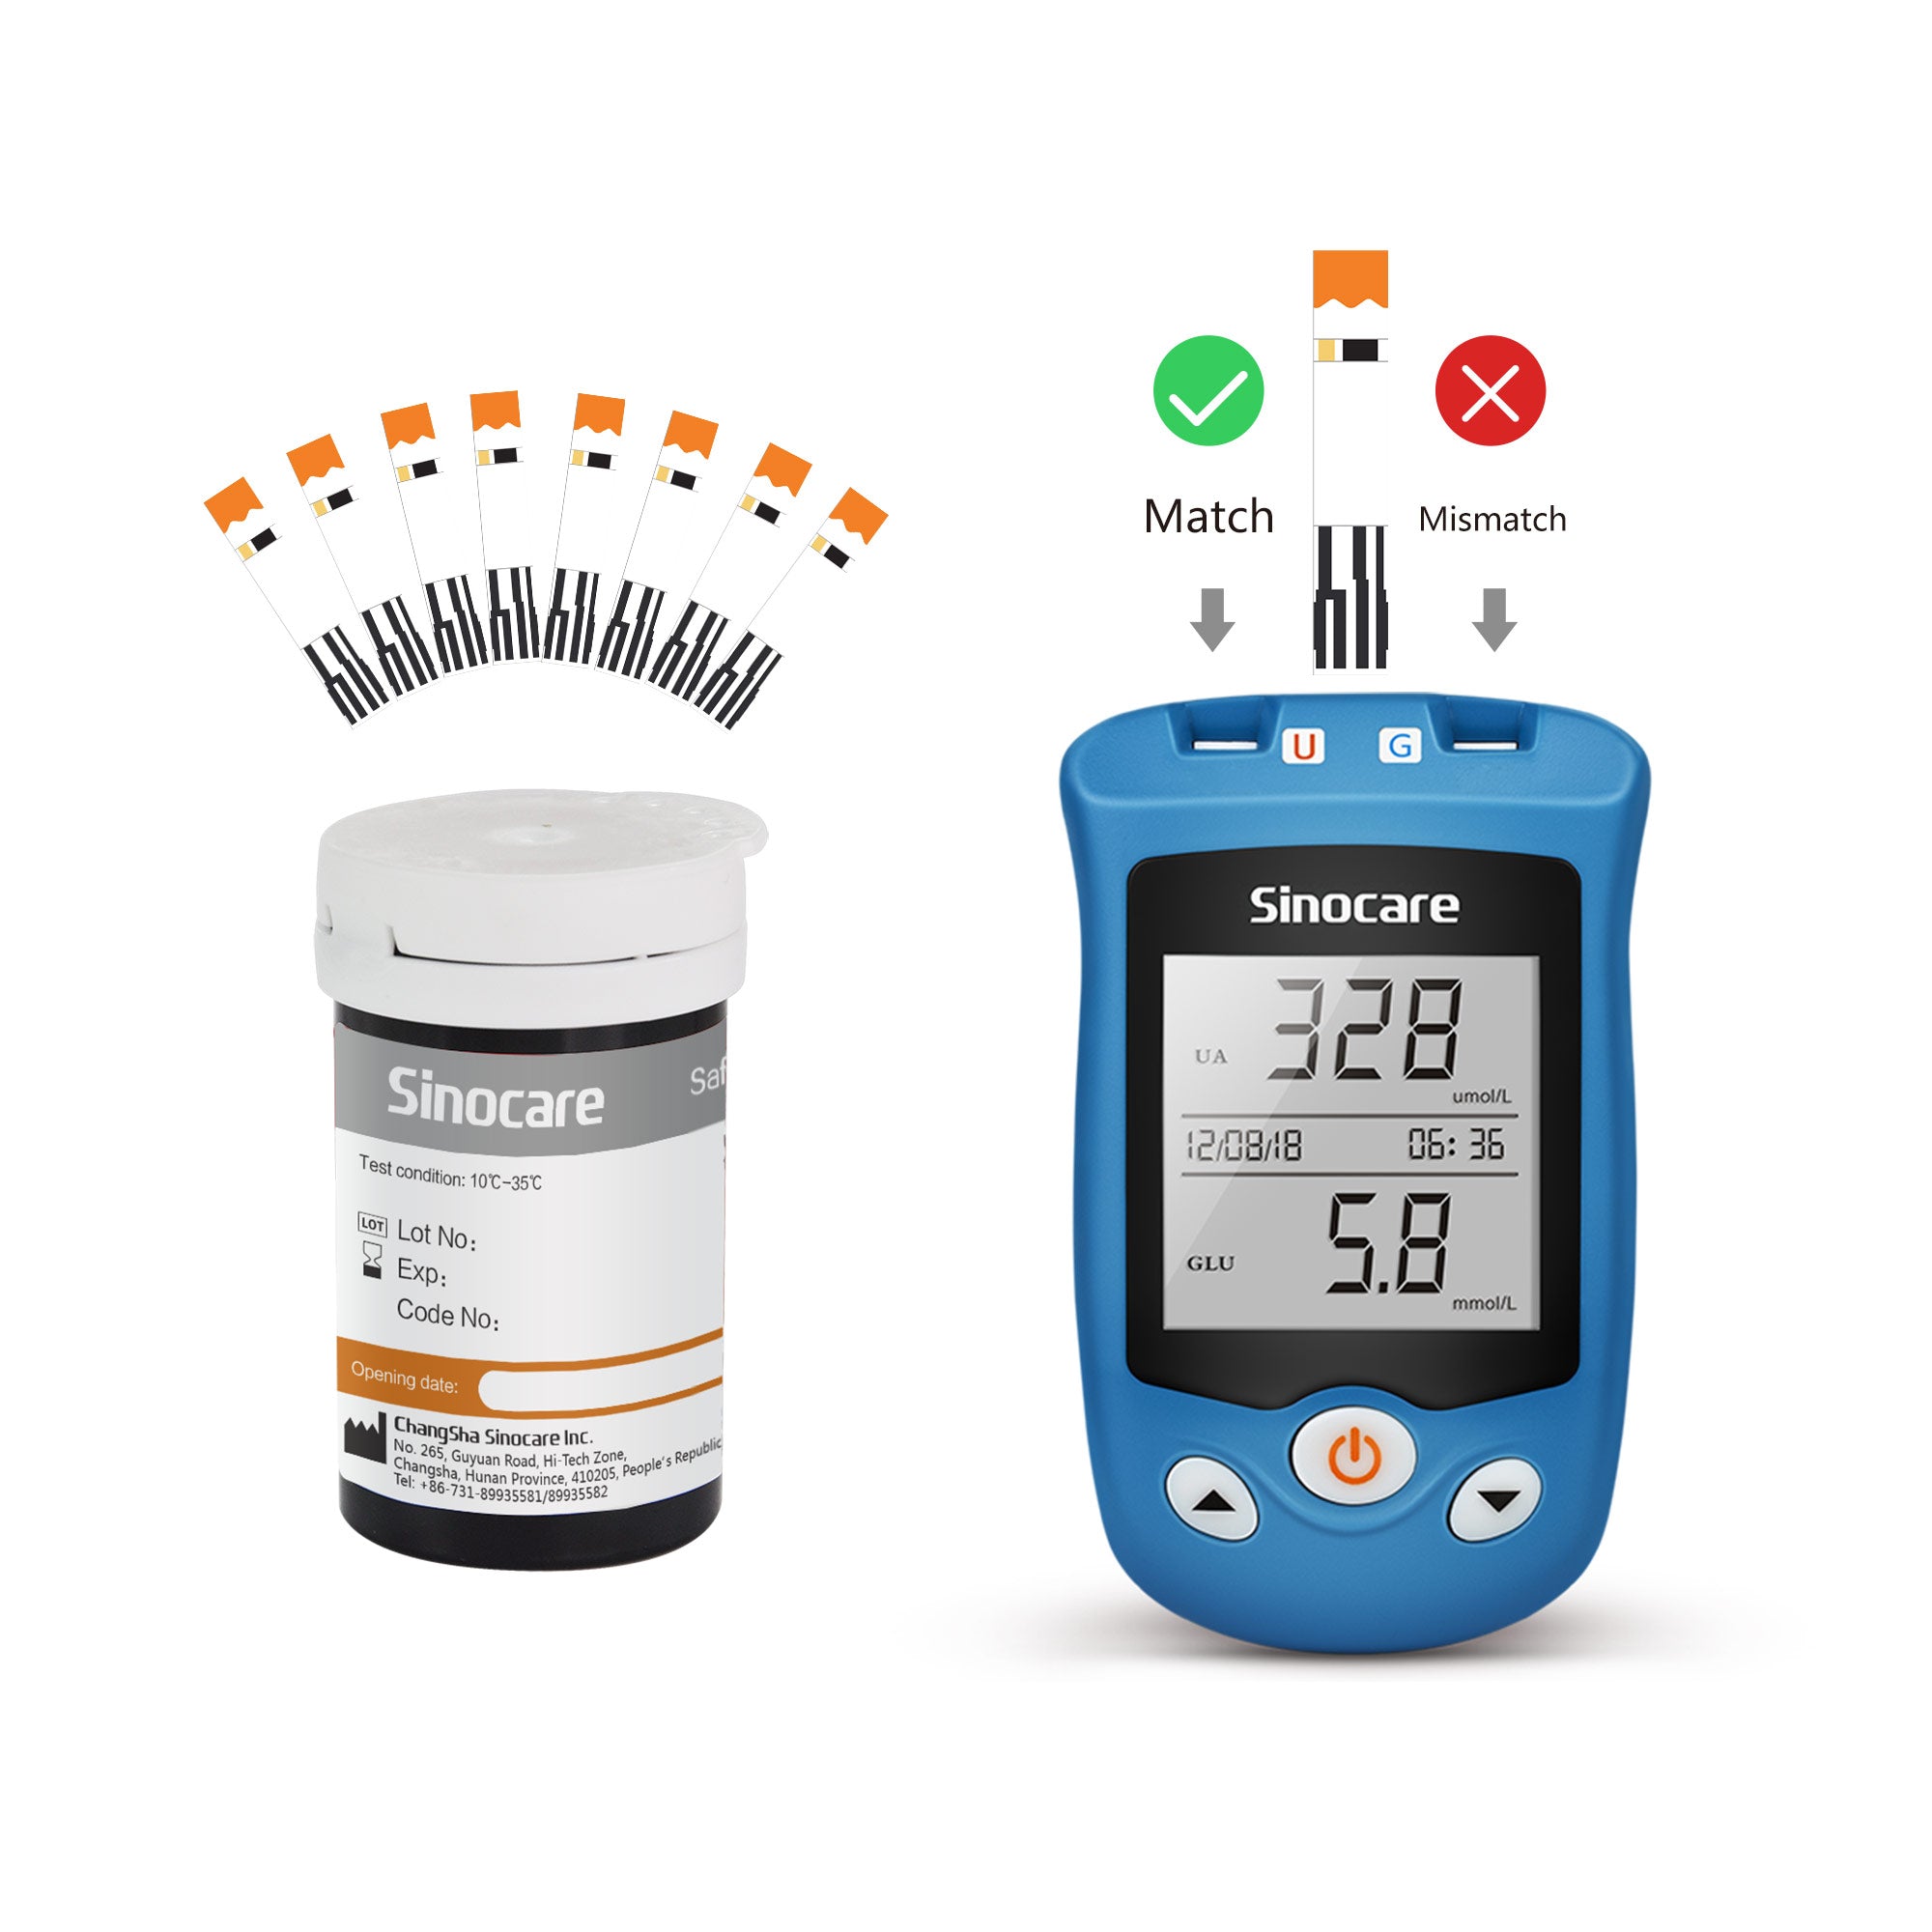
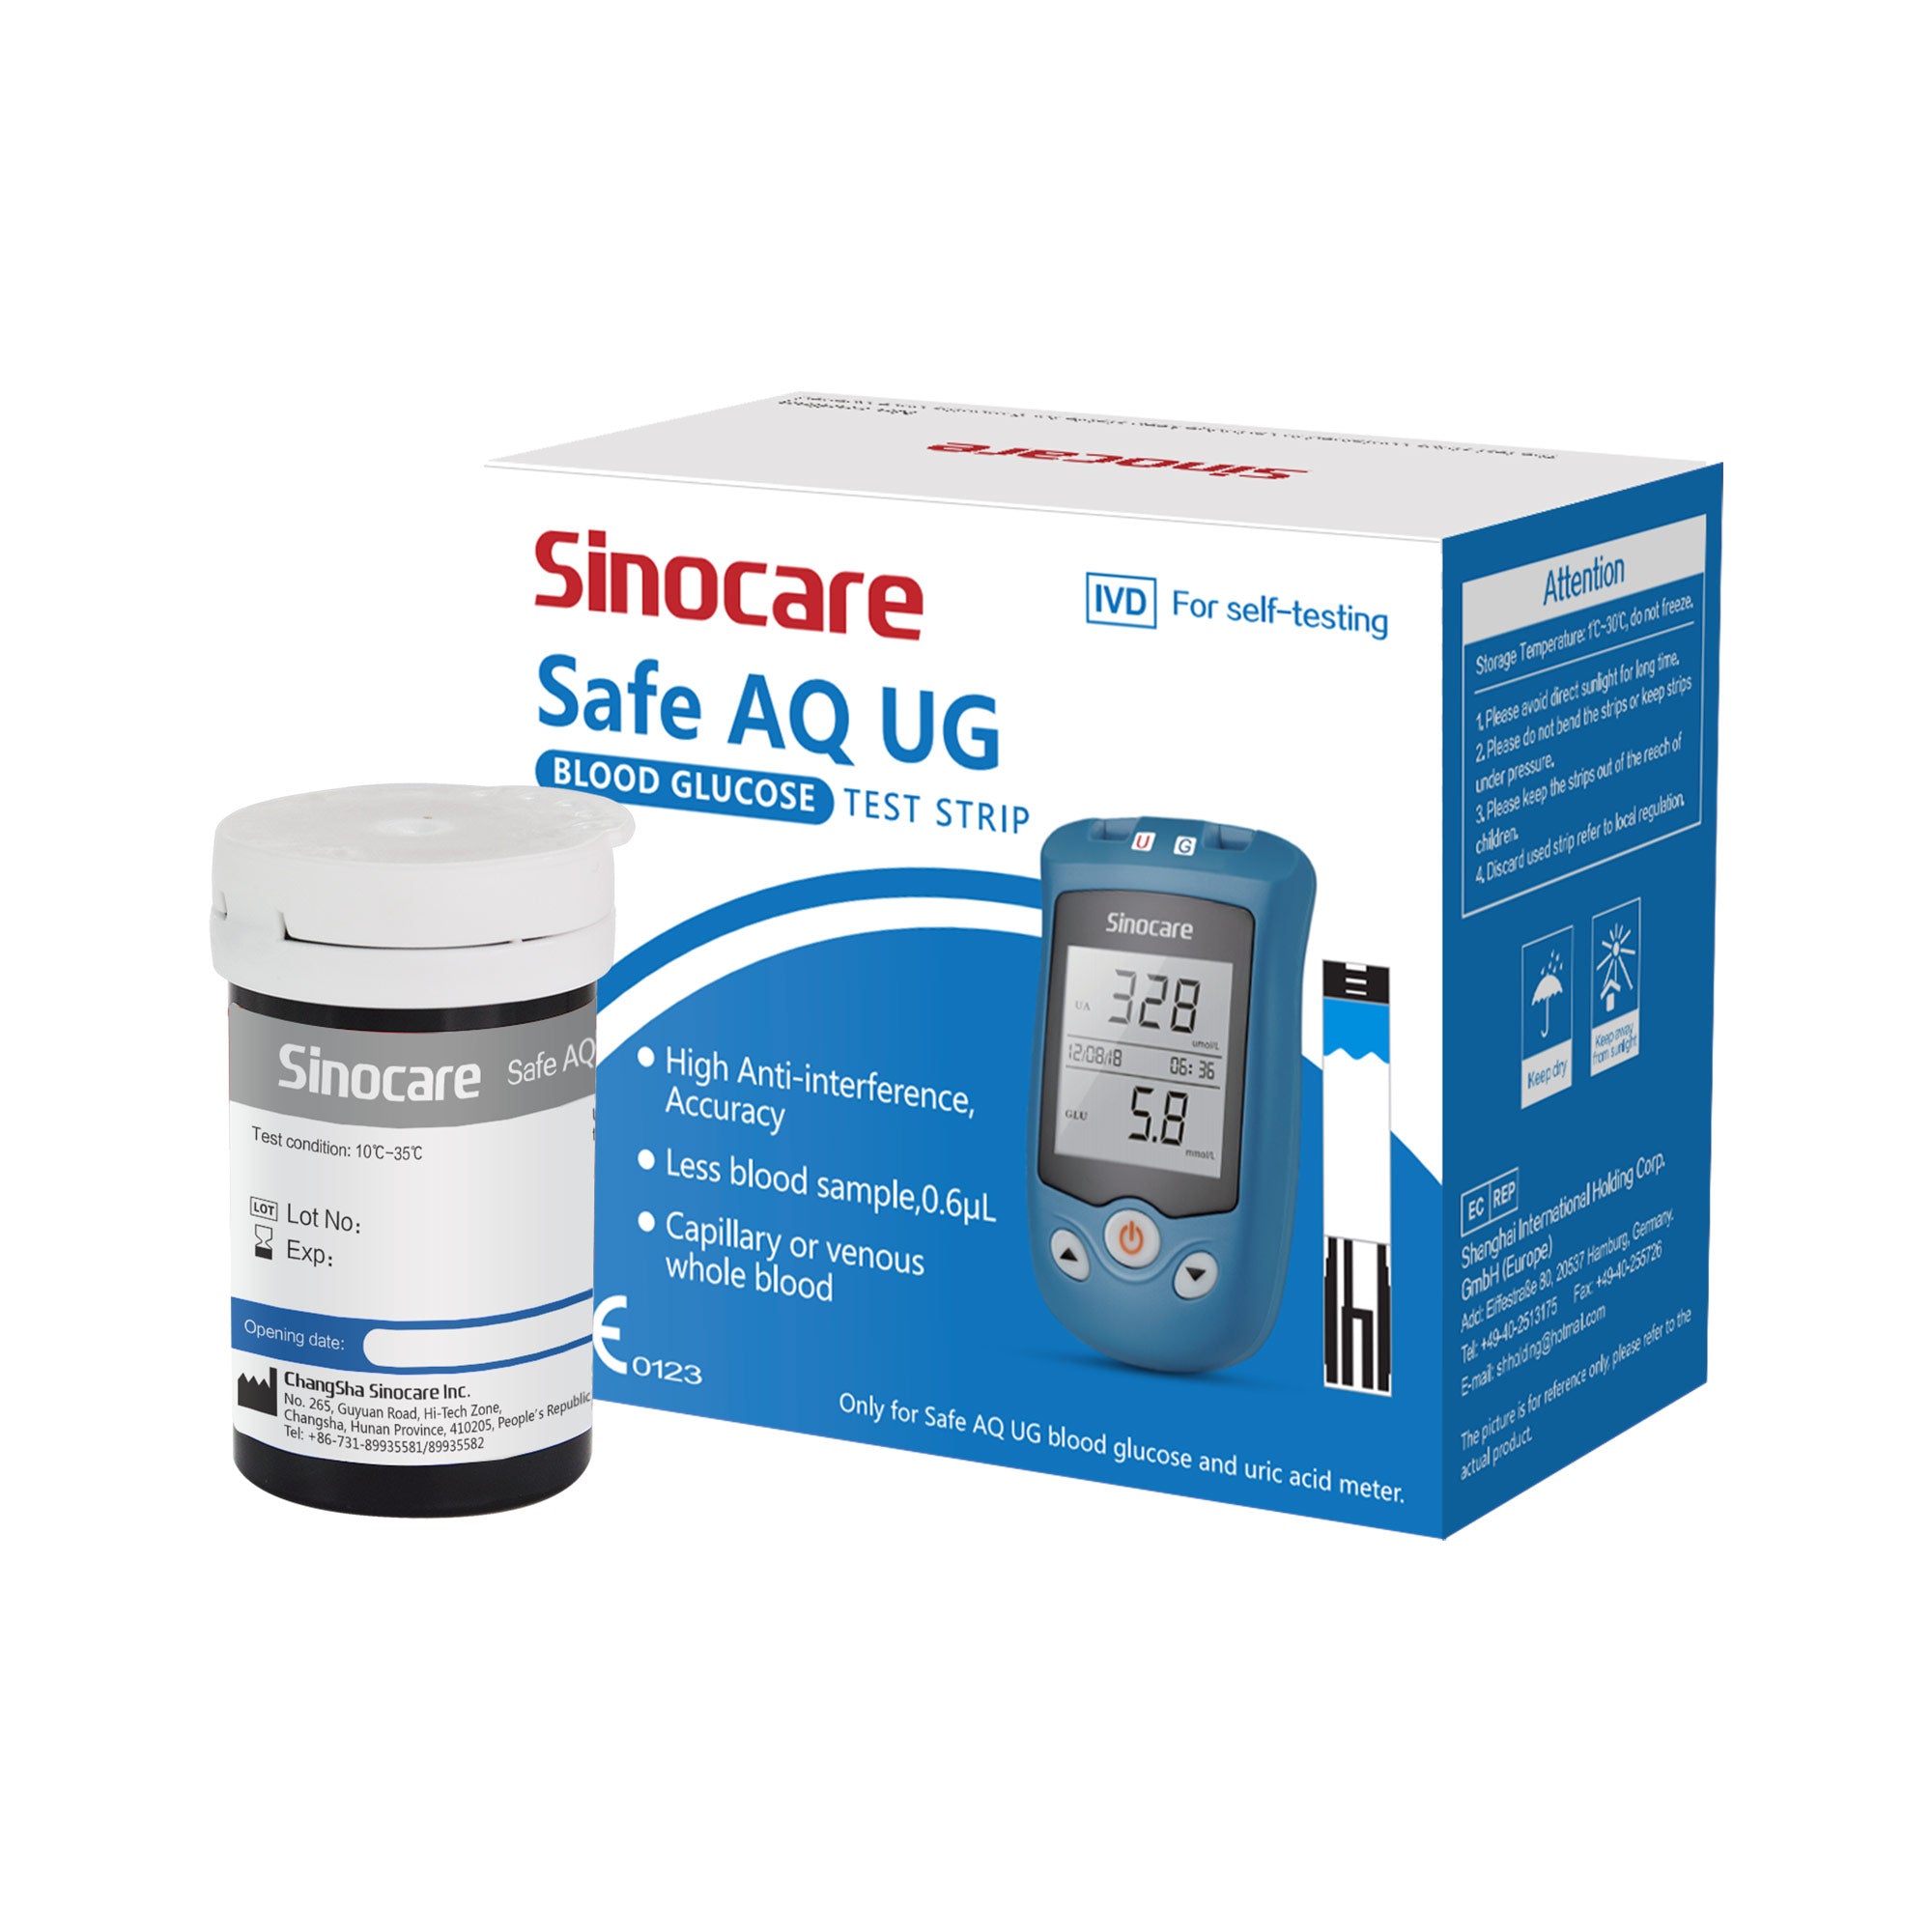
Blood Glucose Test Strip
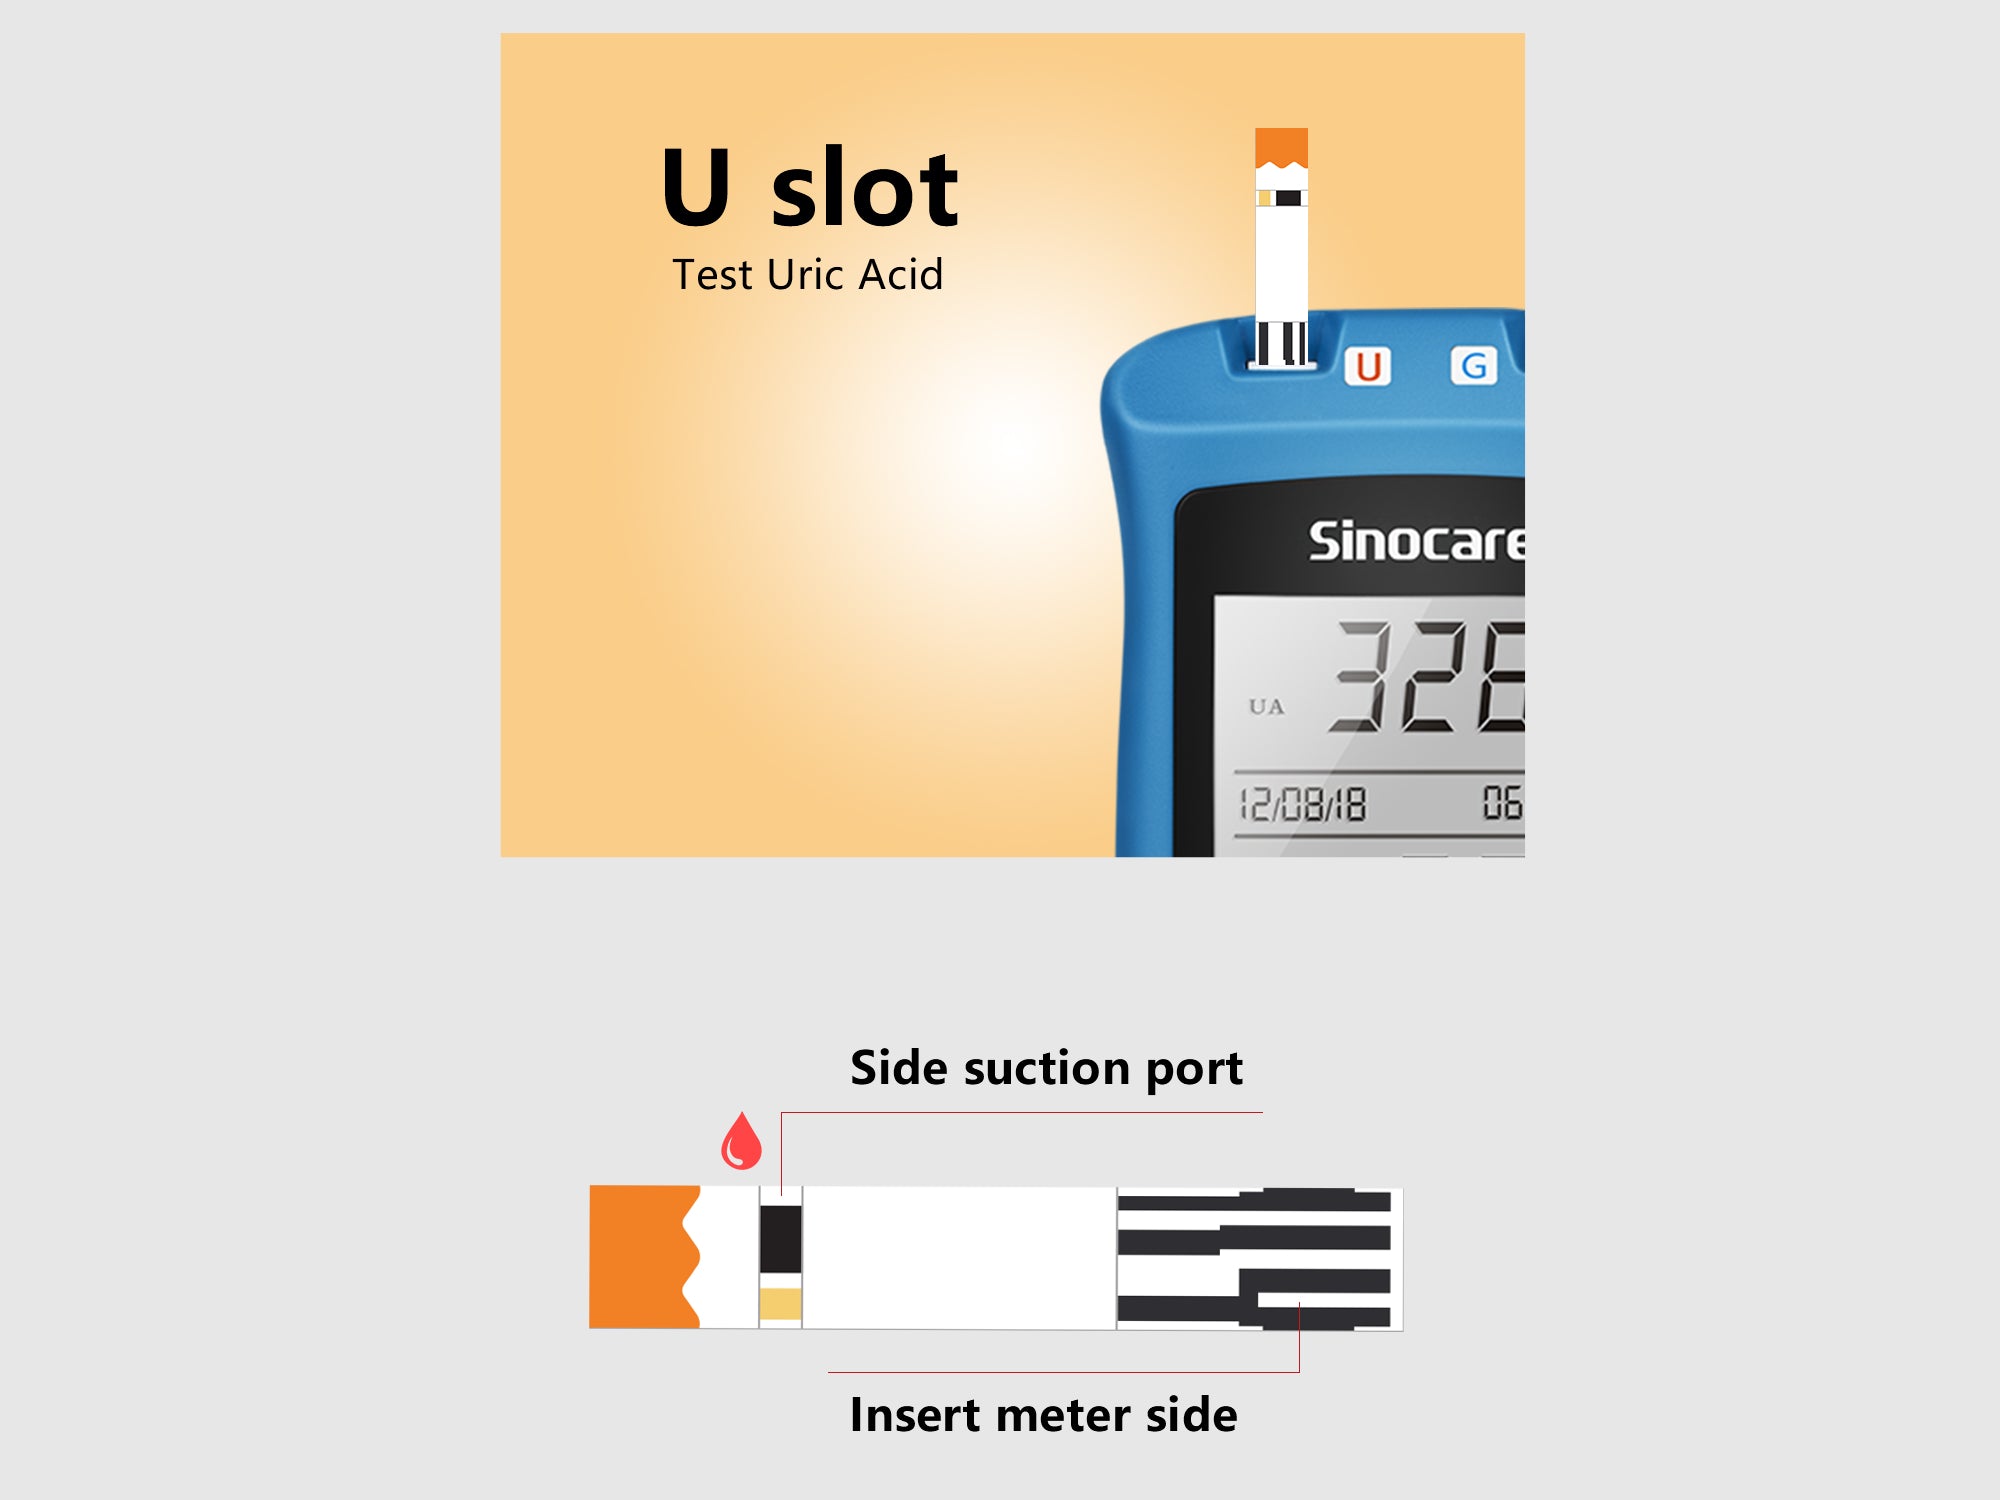
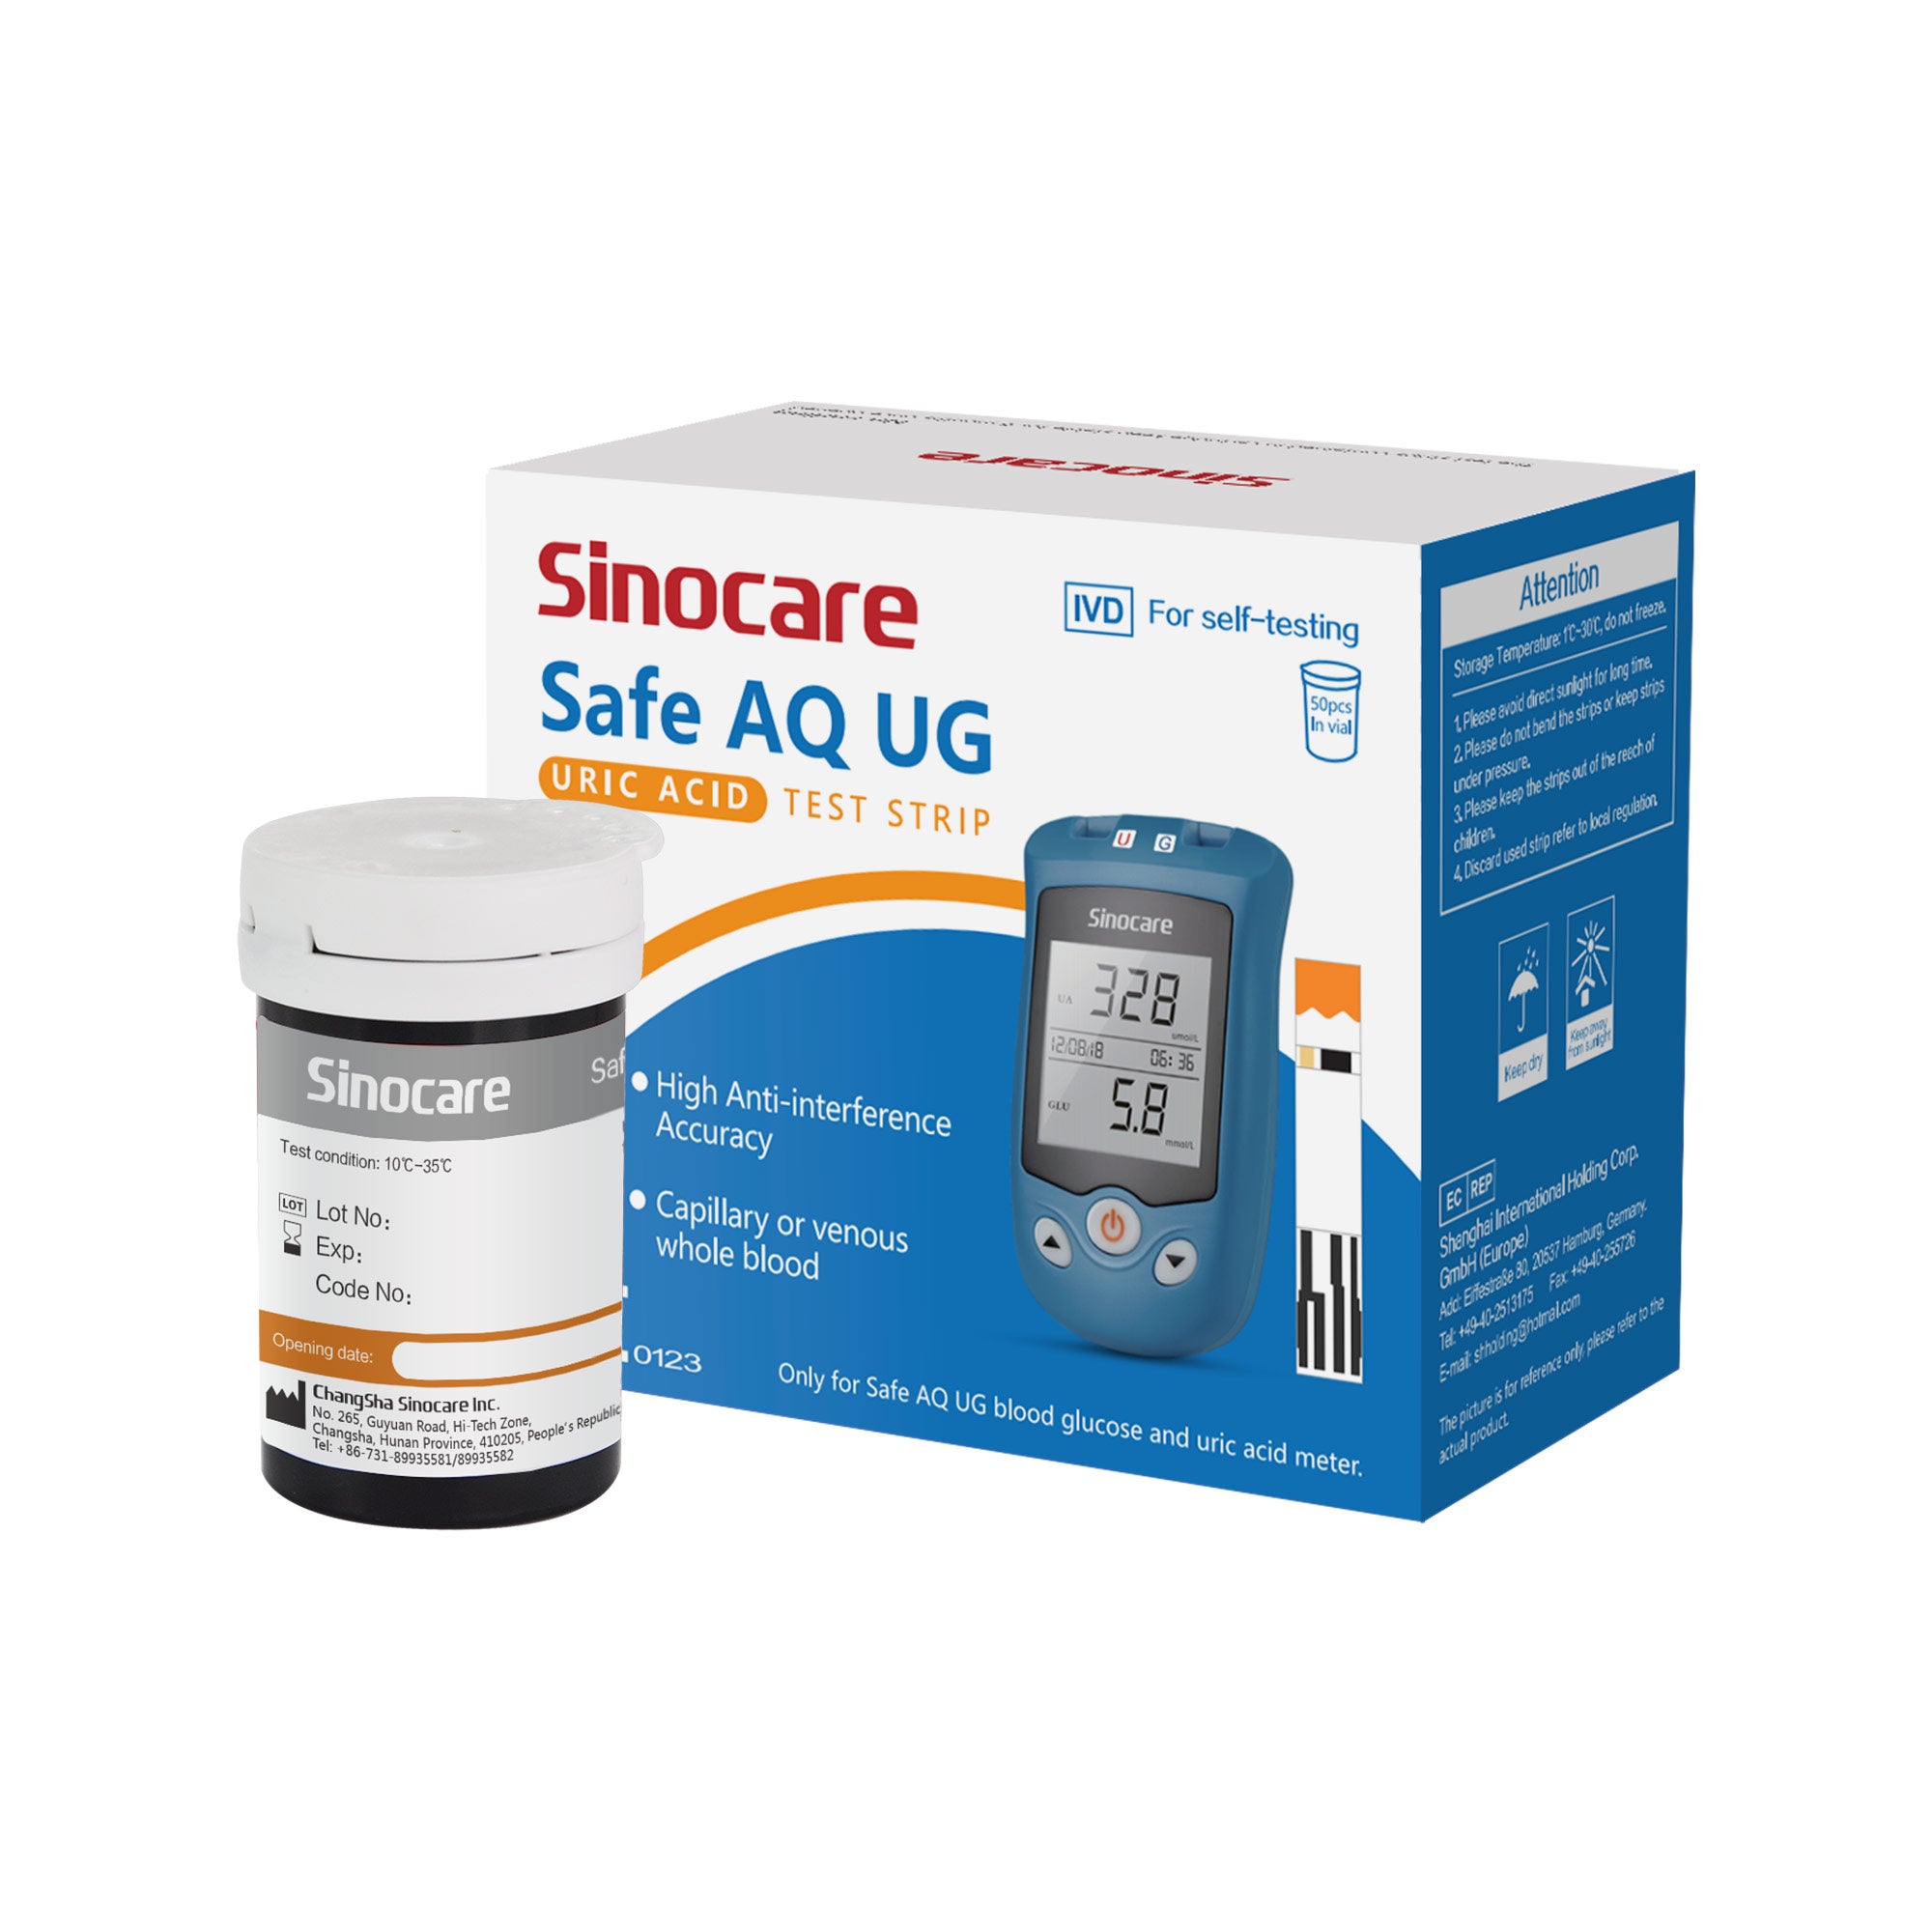
Uric Acid Test Strip
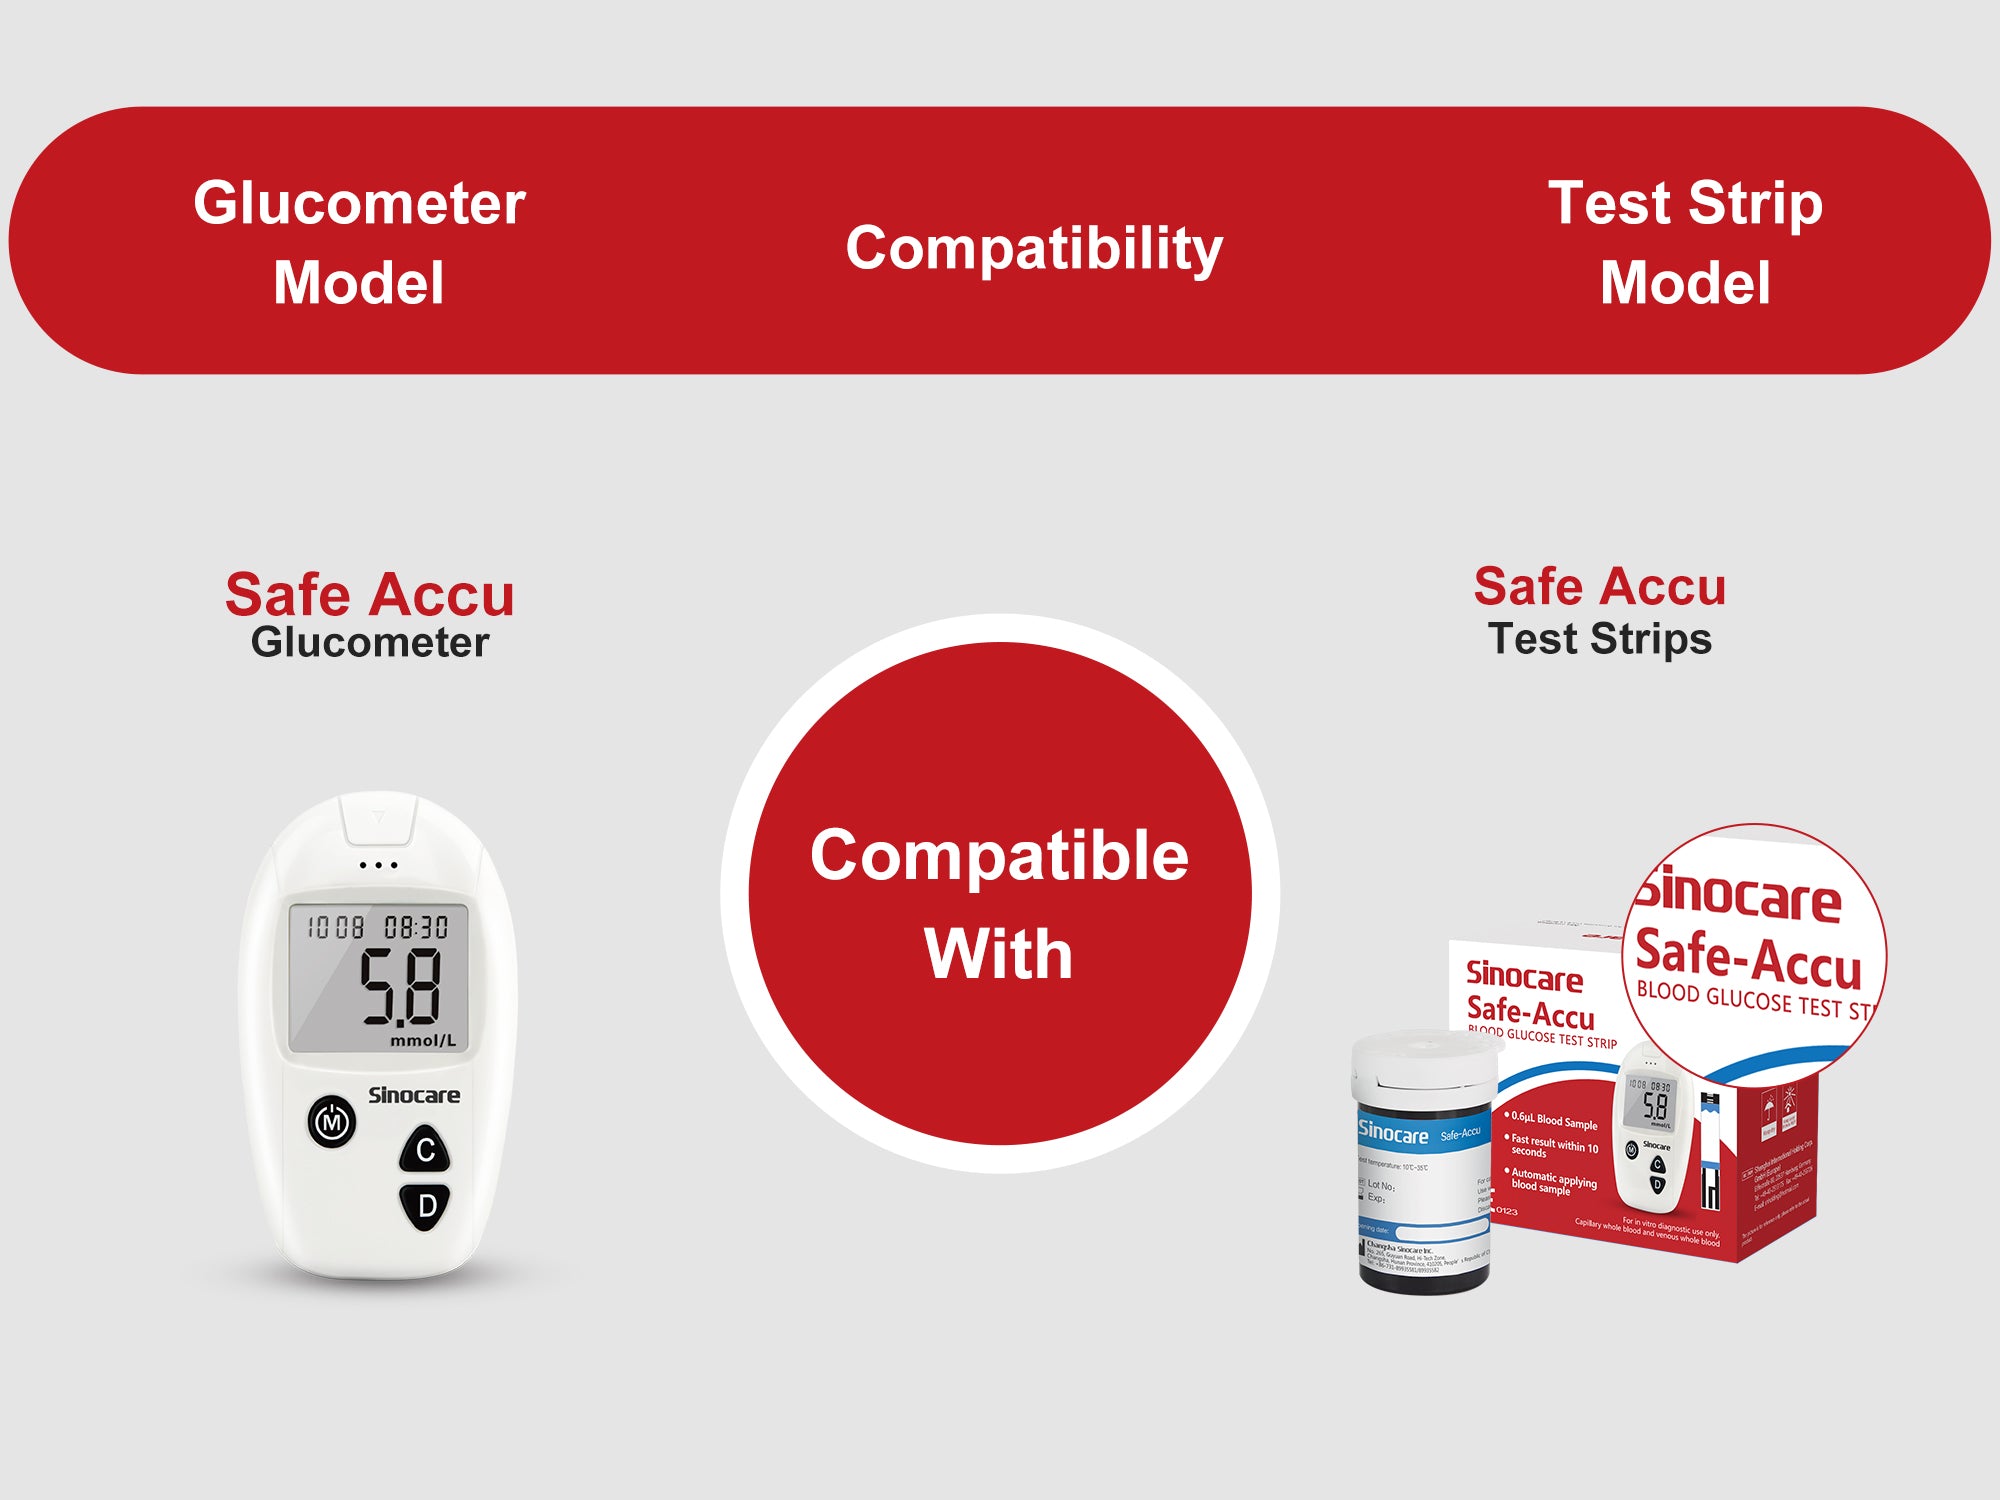
Choosing the Correct Test Strip for Blood Glucose Meter
The daily use of a blood glucose meter is certainly a good choice and also a necessity for people with diabetes, as it allows you to check how the body reacts throughout the day, and is also useful...


